> ## Documentation Index
> Fetch the complete documentation index at: https://docs.bloom.diy/llms.txt
> Use this file to discover all available pages before exploring further.
# Building from Mobile
> Create and iterate on apps directly from your phone.
The **Bloom mobile app** lets you build, test, and modify apps directly from your phone. Whether you're commuting, traveling, or just prefer working from your device, you can create full-stack apps without touching a computer.
## When to use the mobile app
Sketch out ideas immediately when inspiration strikes—no need to be at a desk.
Make changes or fix issues while away from your computer.
Build and test directly on your phone to see exactly how your app feels to users.
Show teammates or clients your app in real-time during meetings or casual conversations.
New to app building? The mobile interface makes it easy to experiment and learn.
Generate share links and QR codes to demo your app to people nearby.
**Everything syncs:** Changes you make in the mobile app sync automatically to the web workspace and vice versa. Start on mobile, finish on web—or the other way around.
## Getting started
### Download the Bloom app
**Download from the App Store**
1. Open the App Store on your iPhone or iPad
2. Search for "Bloom" or "Bloom App Builder"
3. Tap **Get** to download
4. Open the app once installed
Requires iOS 15 or later for the best experience.
### Sign in
Launch the app on your device.
Use the same account you use on the web to access all your apps across devices.
After signing in, you'll see your app dashboard with all your Bloom apps.
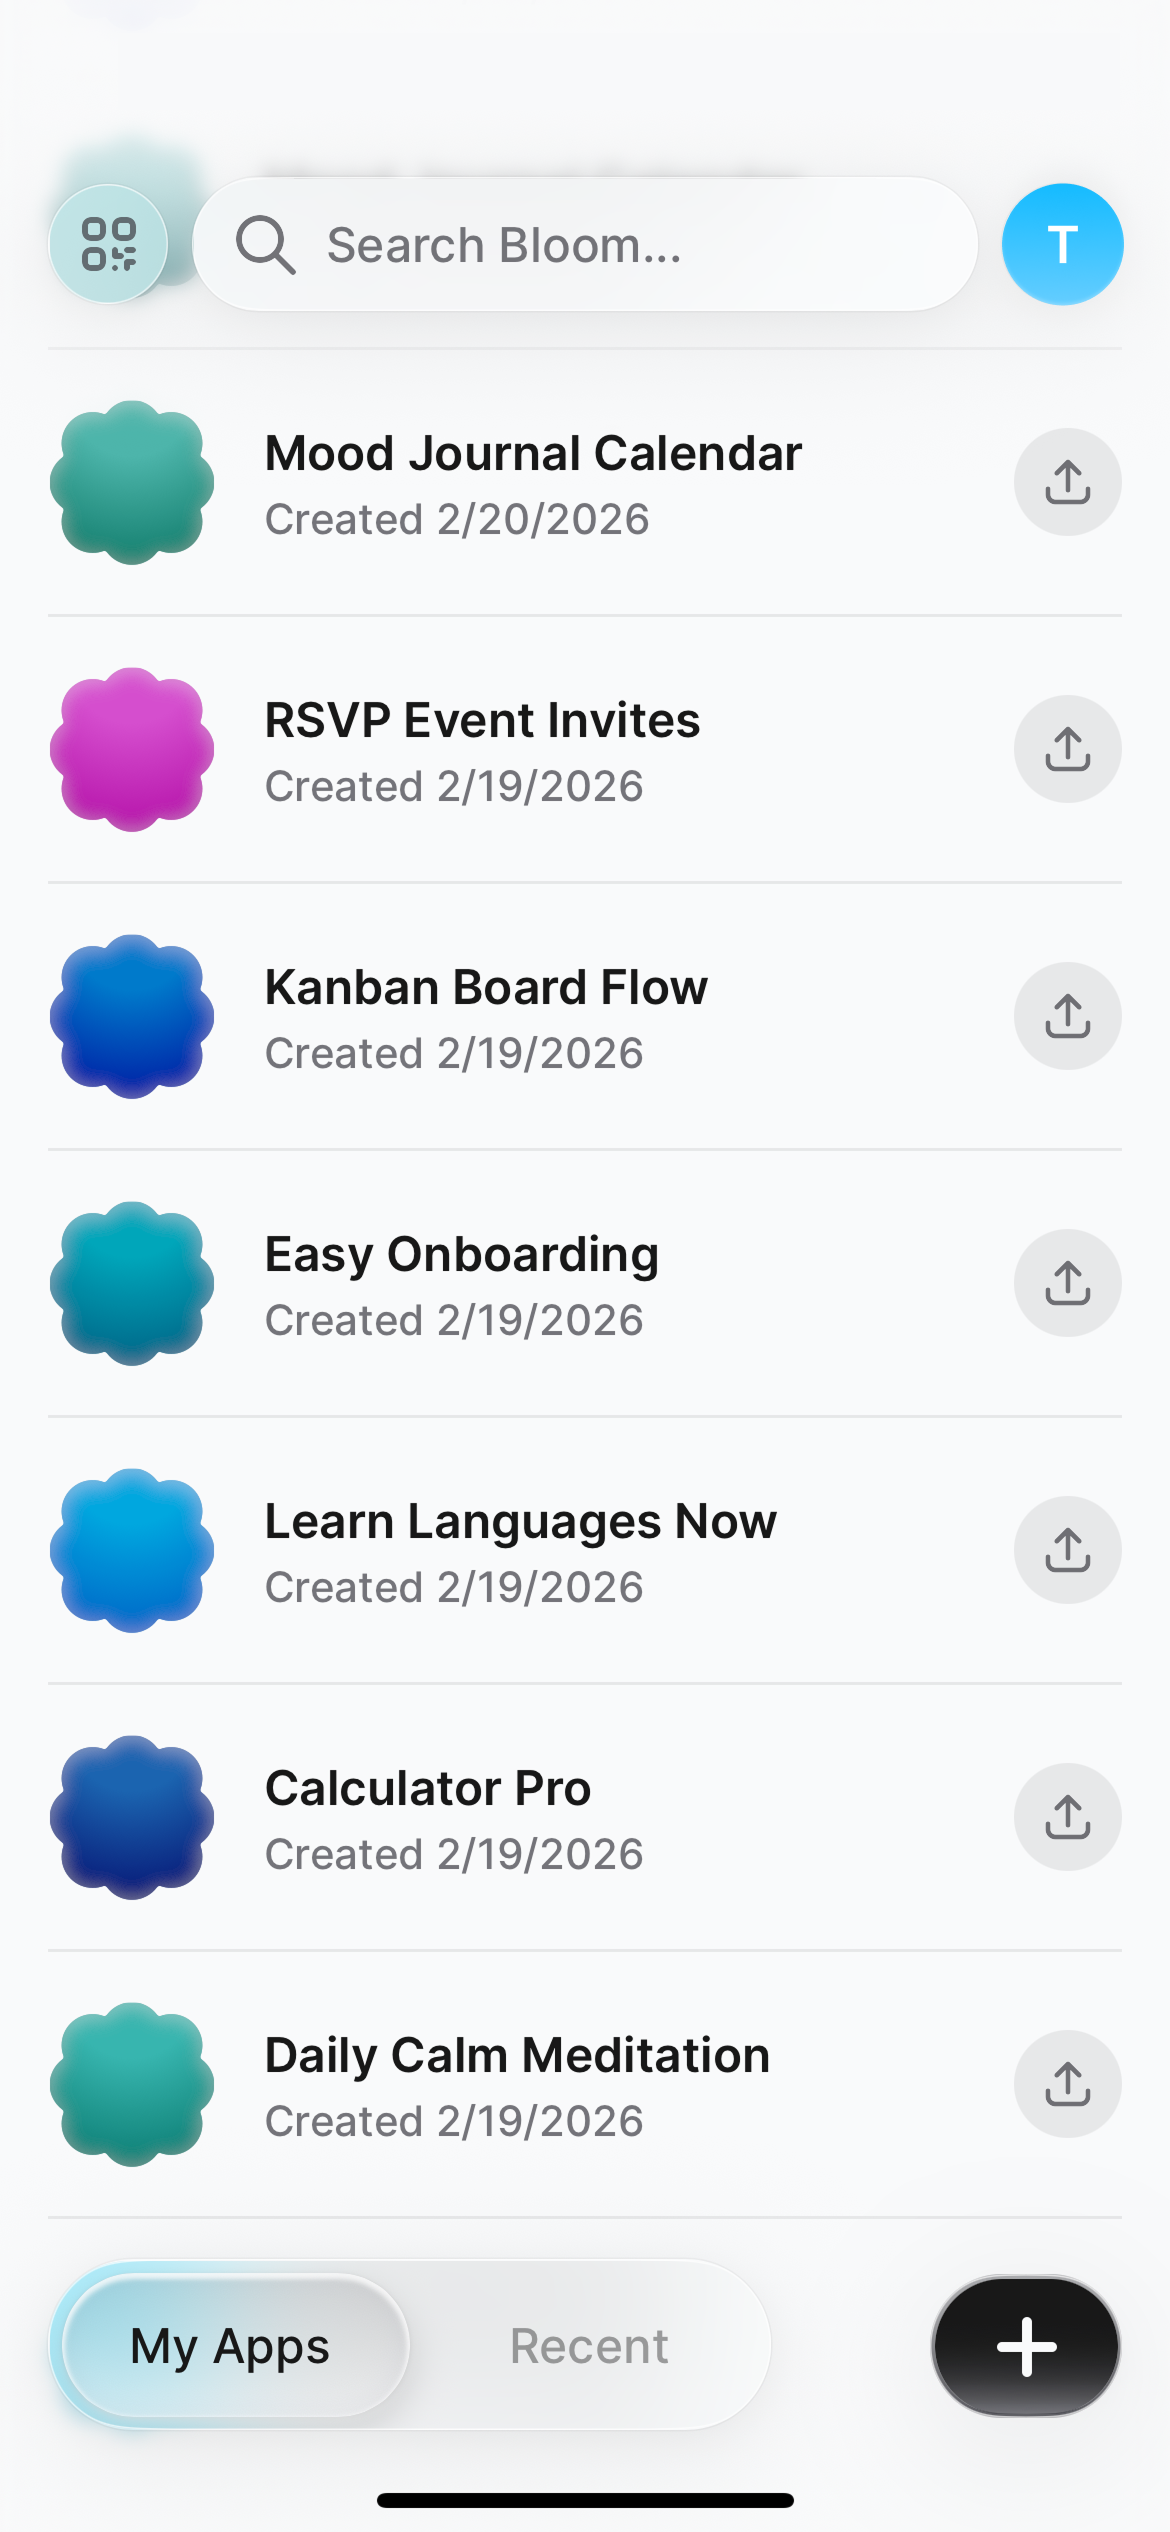 From here you can:
* Open existing apps
* Create new apps
* Access recent apps
* Manage your account settings
## Creating a new app
From your app dashboard, tap the **+** button at the bottom of the screen.
In the chat interface, describe what you want to build.
From here you can:
* Open existing apps
* Create new apps
* Access recent apps
* Manage your account settings
## Creating a new app
From your app dashboard, tap the **+** button at the bottom of the screen.
In the chat interface, describe what you want to build.
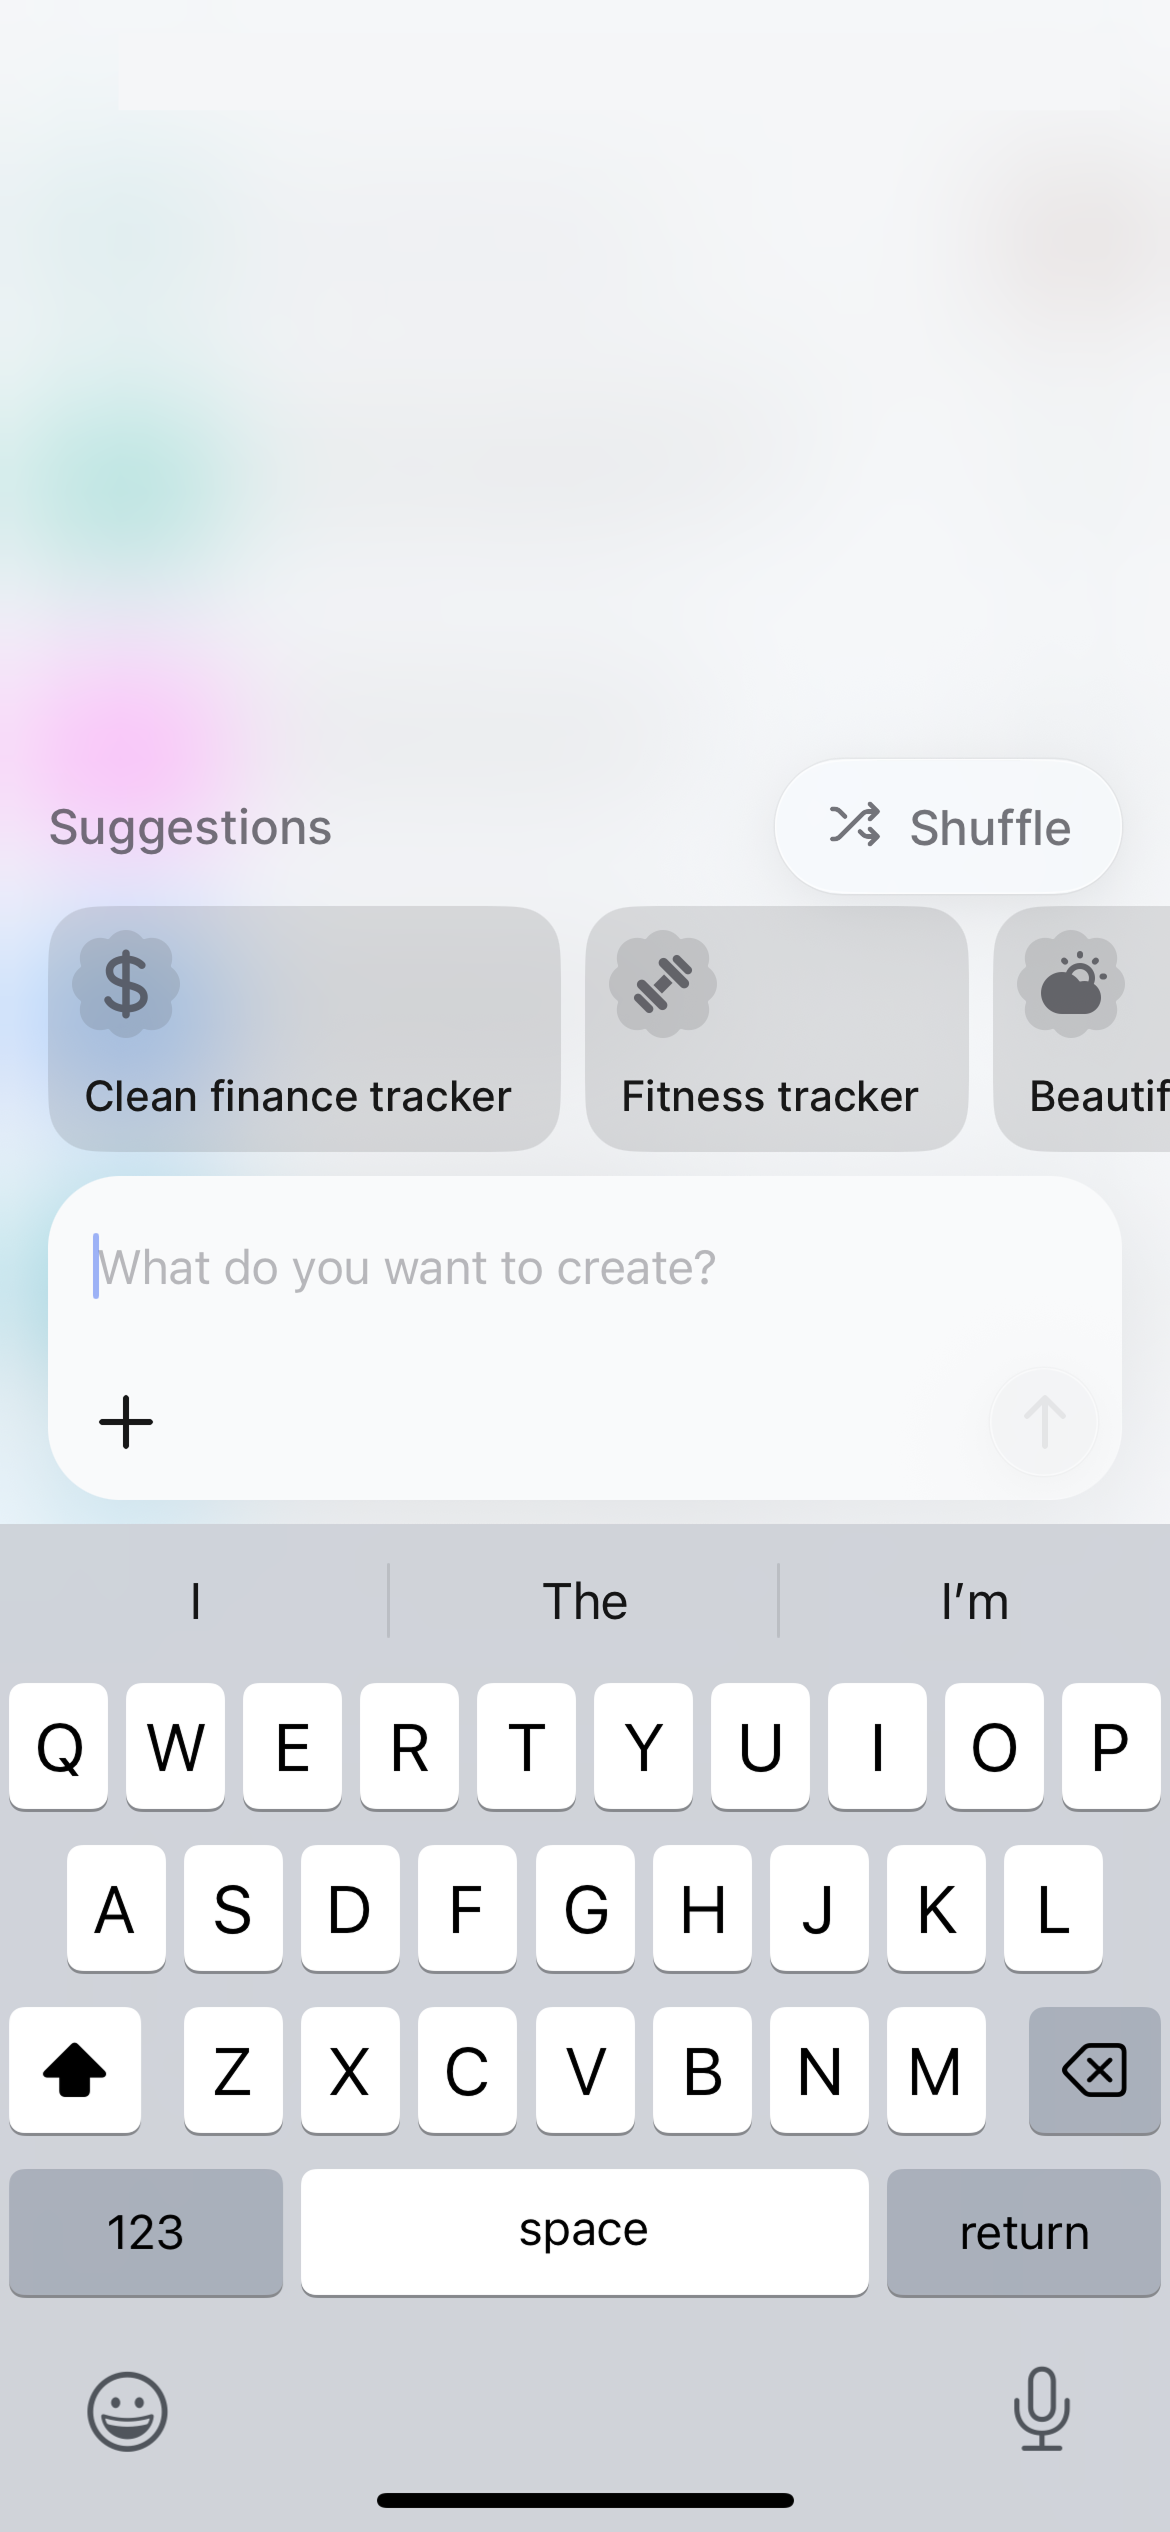 **Tips for mobile prompting:**
* Be concise but specific
* Use voice input if typing is difficult
* Break complex ideas into multiple messages
* Reference examples when helpful
**Good mobile prompts:**
* "Build a habit tracker with daily check-ins and streak tracking"
* "Create a simple to-do list with categories"
* "Make a photo sharing app with comments"
**Less effective:**
* "Make an app" (too vague)
* "Build something like Instagram with all features" (too complex for first version)
Just like on web, Bloom creates your full-stack app:
* Frontend screens and UI
* Backend functions and database
* Authentication setup
* Real-time preview
You'll see progress updates as generation happens.
Once generation completes, your app opens automatically in native preview.
**Tips for mobile prompting:**
* Be concise but specific
* Use voice input if typing is difficult
* Break complex ideas into multiple messages
* Reference examples when helpful
**Good mobile prompts:**
* "Build a habit tracker with daily check-ins and streak tracking"
* "Create a simple to-do list with categories"
* "Make a photo sharing app with comments"
**Less effective:**
* "Make an app" (too vague)
* "Build something like Instagram with all features" (too complex for first version)
Just like on web, Bloom creates your full-stack app:
* Frontend screens and UI
* Backend functions and database
* Authentication setup
* Real-time preview
You'll see progress updates as generation happens.
Once generation completes, your app opens automatically in native preview.
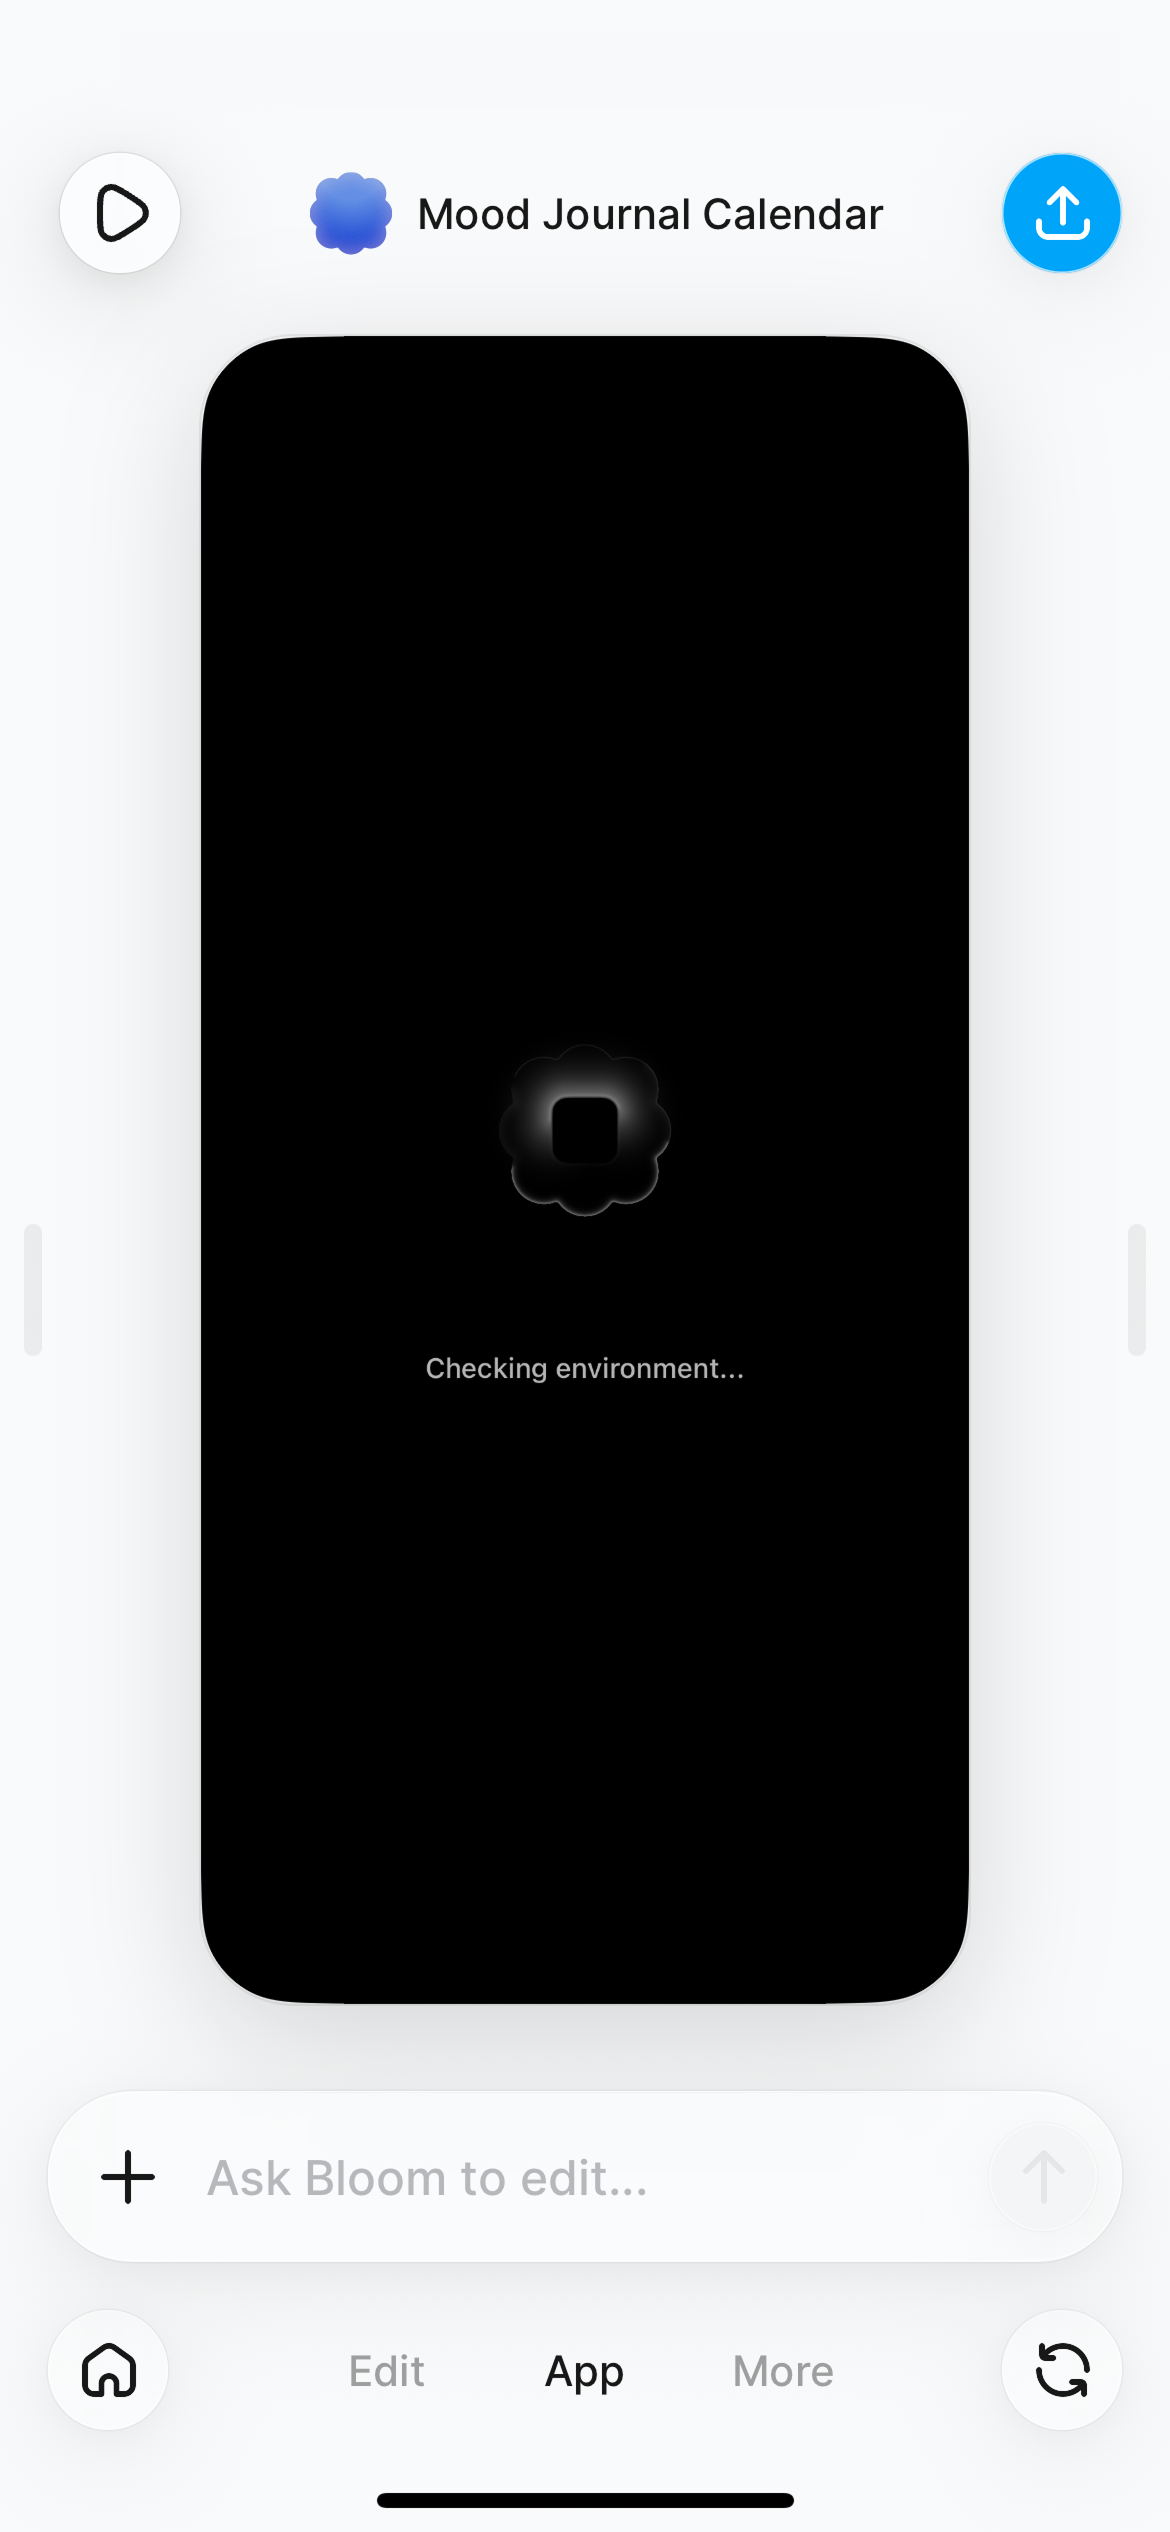 Test all screens and interactions
Try user flows from start to finish
Experience exactly what your users will see
## Making changes
### Using the chat
The chat interface is your main tool for modifying your app on mobile:
Type your requests in the chat at the bottom of the screen:
Test all screens and interactions
Try user flows from start to finish
Experience exactly what your users will see
## Making changes
### Using the chat
The chat interface is your main tool for modifying your app on mobile:
Type your requests in the chat at the bottom of the screen:
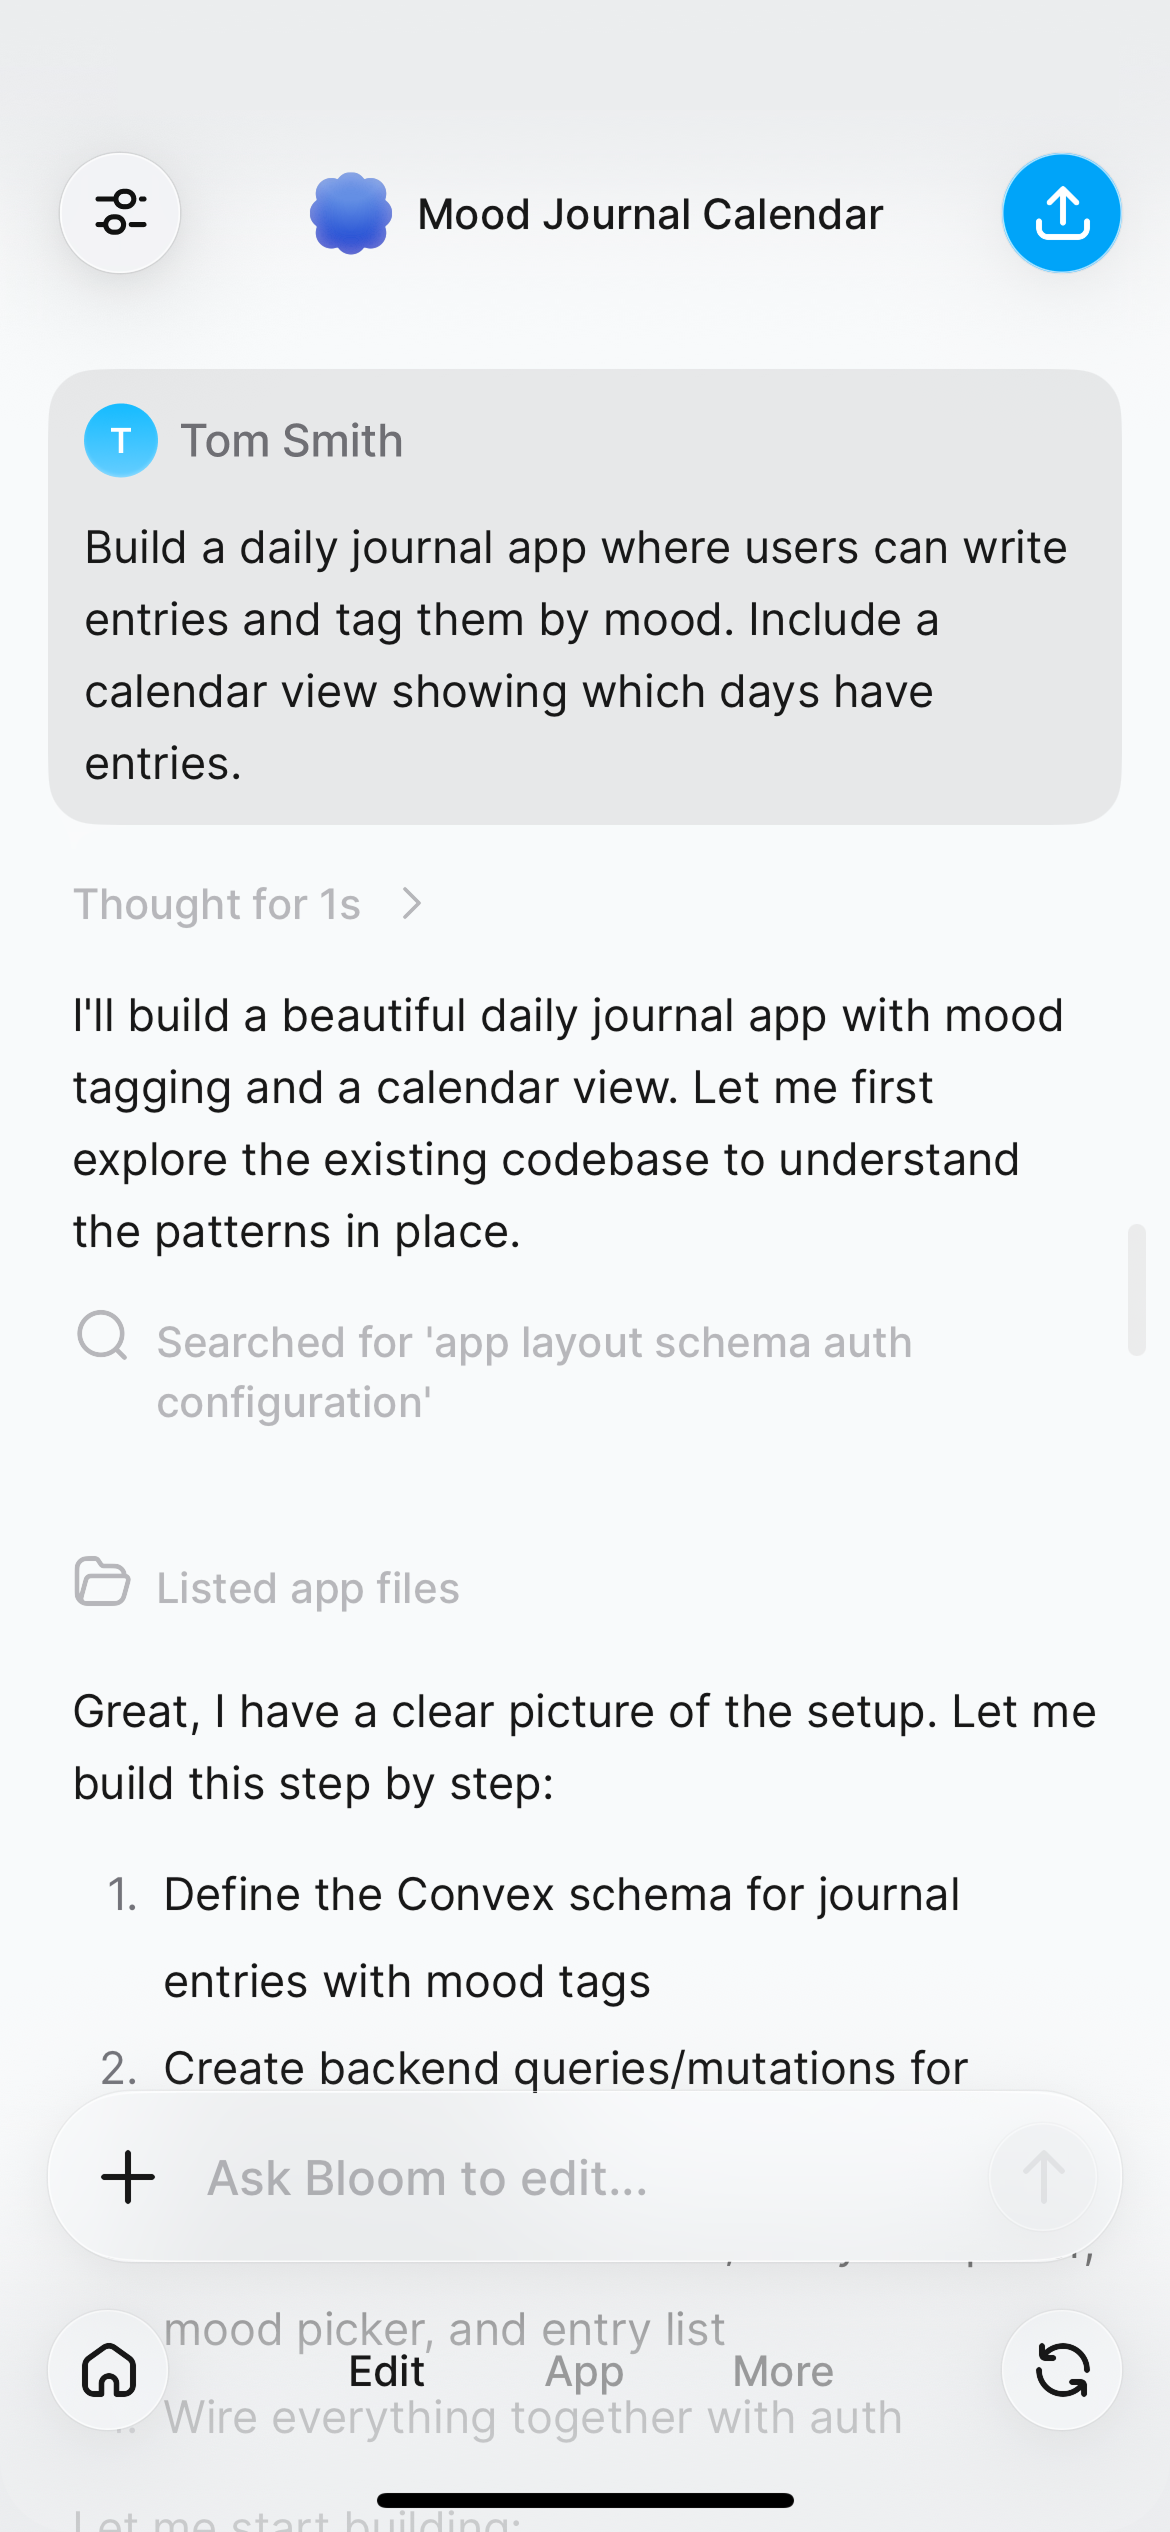 **Example requests:**
* "Add a search bar to the home screen"
* "Change the button color to blue"
* "Make the text larger"
* "Add a delete button to each item"
### Choosing a model
You can choose which AI model Bloom uses to generate your code. Tap the **+** button in the bottom left corner of the chat input to open the model selector.
**Example requests:**
* "Add a search bar to the home screen"
* "Change the button color to blue"
* "Make the text larger"
* "Add a delete button to each item"
### Choosing a model
You can choose which AI model Bloom uses to generate your code. Tap the **+** button in the bottom left corner of the chat input to open the model selector.
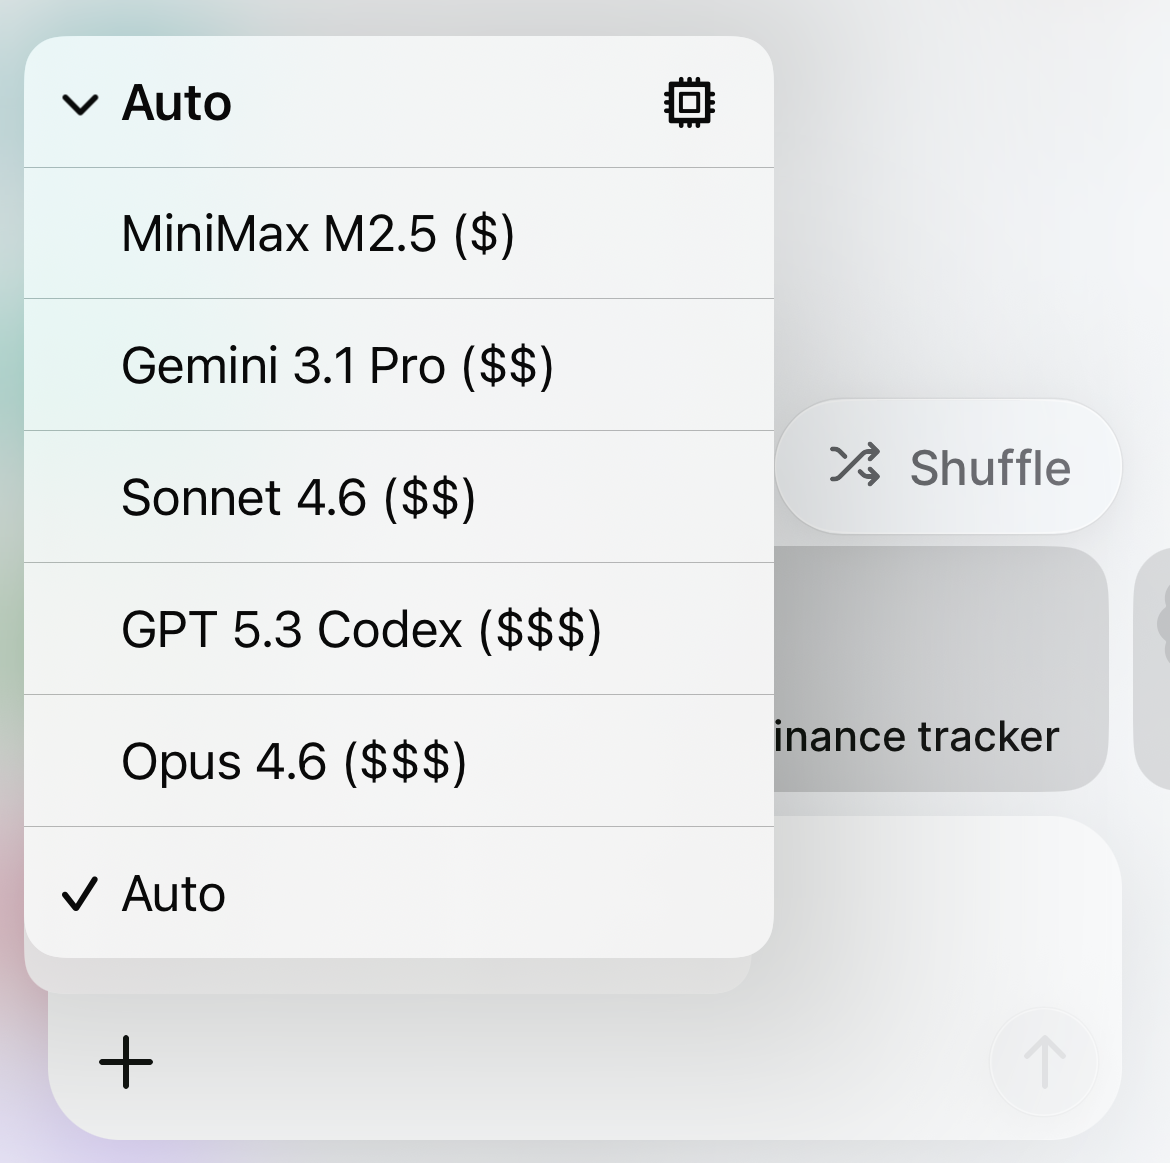 **Available models:**
| Model | Cost | Best for |
| ------------------ | ------ | ------------------------------------------- |
| **Auto** (default) | Varies | Bloom picks the best model for each request |
| **MiniMax M2.5** | \$ | Lighter, faster generations |
| **Gemini 3.1 Pro** | \$\$ | Balanced speed and quality |
| **Sonnet 4.6** | \$\$ | Balanced speed and quality |
| **GPT 5.3 Codex** | \$\$\$ | Complex, high-quality generations |
| **Opus 4.6** | \$\$\$ | Complex, high-quality generations |
**Auto** is selected by default and works well for most requests. Higher-tier models (\$\$, \$\$\$) produce more sophisticated results but use more credits per generation.
### Common modifications
**Example prompts:**
* "Make the buttons rounded"
* "Add spacing between list items"
* "Change the background to light gray"
* "Show user avatars as circles"
* "Make the header sticky at the top"
**Example prompts:**
* "Add a filter dropdown"
* "Include a favorites feature"
* "Let users upload photos"
* "Add dark mode support"
* "Include share functionality"
**Example prompts:**
* "The save button doesn't work"
* "Fix the keyboard covering the input"
* "Photos aren't loading"
* "The list won't scroll"
* "Users can't sign out"
**Example prompts:**
* "Only show items from the current user"
* "Sort the list by date"
* "Add validation to the form"
* "Send a notification when someone comments"
* "Delete old items automatically"
## Testing your app
### Native preview
One of the biggest advantages of building on mobile: you're already testing on the platform your users will use.
Test on actual hardware—no simulators or emulators needed.
Experience taps, swipes, and gestures exactly as users will.
See how your app looks on your specific device size.
Check actual load times and responsiveness on mobile.
### Gestures for testing
Based on your screenshots, Bloom supports developer gestures for quick testing:
**Available models:**
| Model | Cost | Best for |
| ------------------ | ------ | ------------------------------------------- |
| **Auto** (default) | Varies | Bloom picks the best model for each request |
| **MiniMax M2.5** | \$ | Lighter, faster generations |
| **Gemini 3.1 Pro** | \$\$ | Balanced speed and quality |
| **Sonnet 4.6** | \$\$ | Balanced speed and quality |
| **GPT 5.3 Codex** | \$\$\$ | Complex, high-quality generations |
| **Opus 4.6** | \$\$\$ | Complex, high-quality generations |
**Auto** is selected by default and works well for most requests. Higher-tier models (\$\$, \$\$\$) produce more sophisticated results but use more credits per generation.
### Common modifications
**Example prompts:**
* "Make the buttons rounded"
* "Add spacing between list items"
* "Change the background to light gray"
* "Show user avatars as circles"
* "Make the header sticky at the top"
**Example prompts:**
* "Add a filter dropdown"
* "Include a favorites feature"
* "Let users upload photos"
* "Add dark mode support"
* "Include share functionality"
**Example prompts:**
* "The save button doesn't work"
* "Fix the keyboard covering the input"
* "Photos aren't loading"
* "The list won't scroll"
* "Users can't sign out"
**Example prompts:**
* "Only show items from the current user"
* "Sort the list by date"
* "Add validation to the form"
* "Send a notification when someone comments"
* "Delete old items automatically"
## Testing your app
### Native preview
One of the biggest advantages of building on mobile: you're already testing on the platform your users will use.
Test on actual hardware—no simulators or emulators needed.
Experience taps, swipes, and gestures exactly as users will.
See how your app looks on your specific device size.
Check actual load times and responsiveness on mobile.
### Gestures for testing
Based on your screenshots, Bloom supports developer gestures for quick testing:
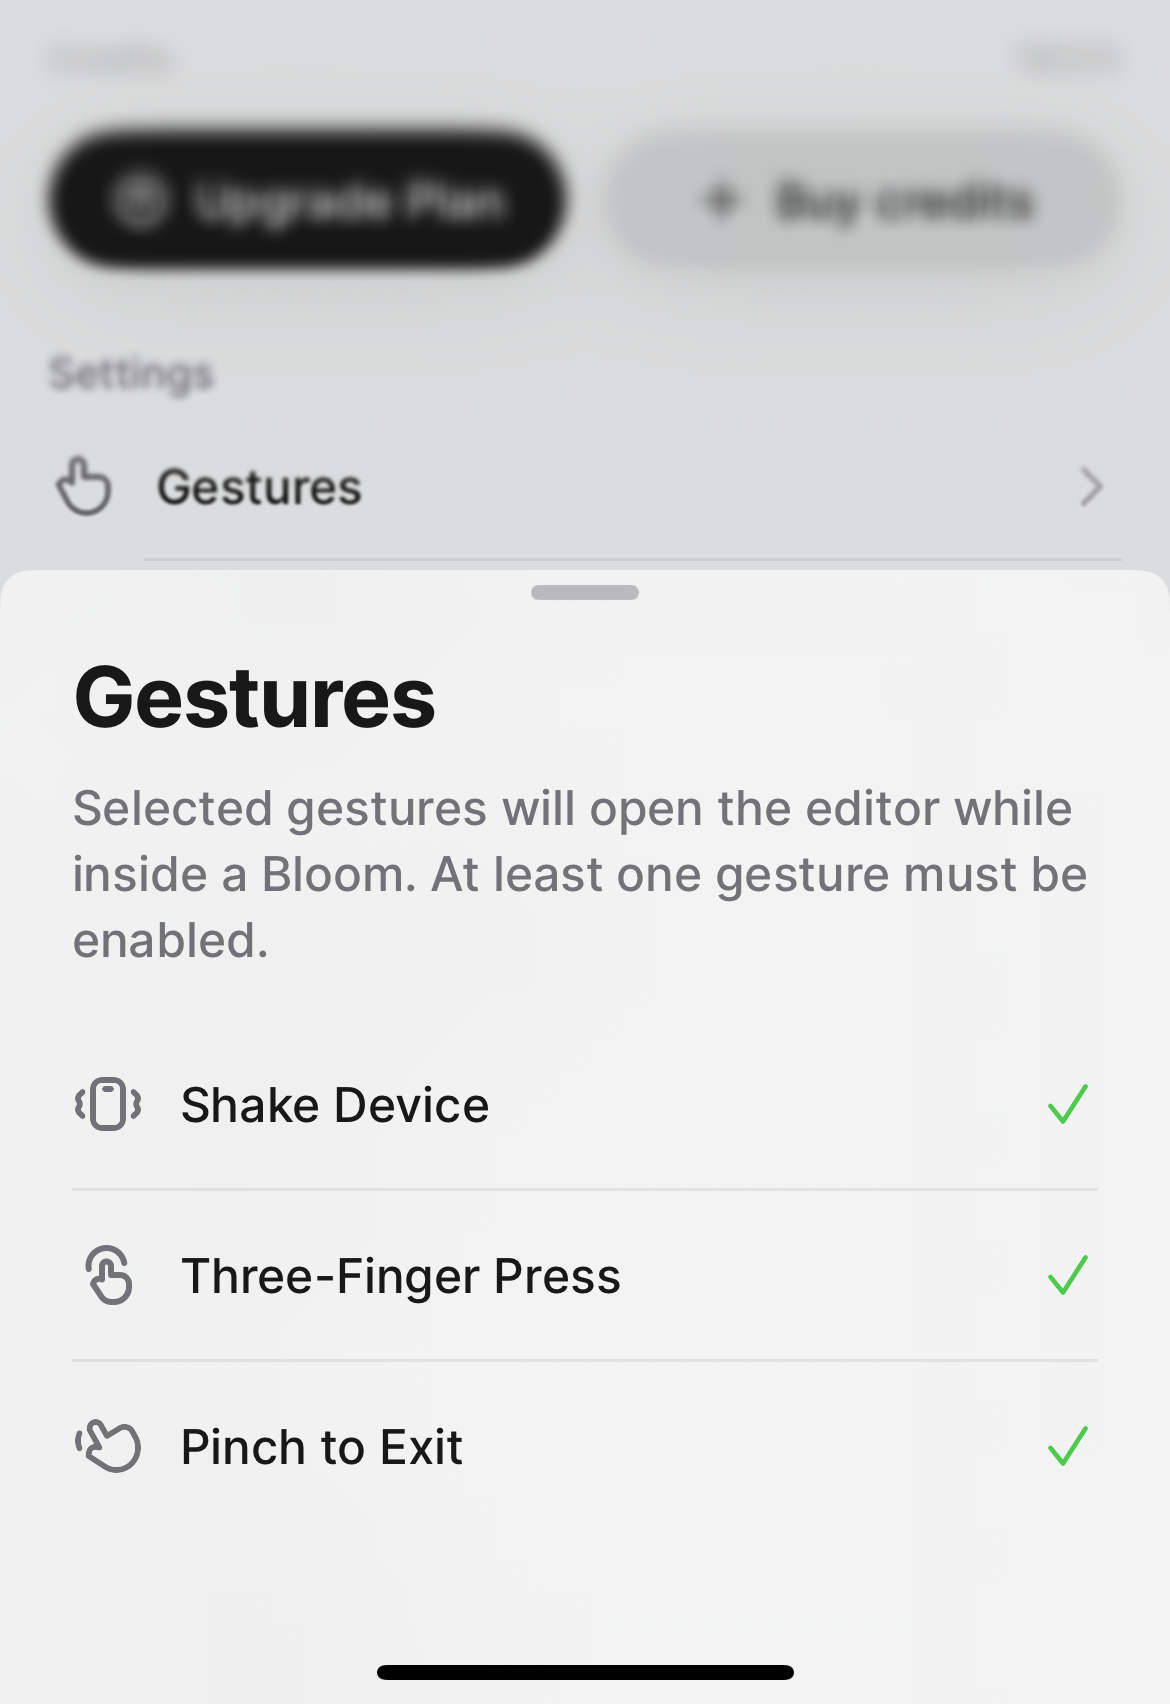 **Shake your phone** to open the developer menu.
Access tools like:
* Reload app
* Debug options
* Performance monitoring
* Network inspector
**Press with three fingers** to trigger specific actions or open quick settings.
**Pinch inward** to exit preview mode and return to the Bloom interface.
Developer gestures can be enabled/disabled in **Settings** → **Gestures** within the Bloom app.
## Viewing your app structure
The mobile app includes views to understand and manage your app:
### App sections
The main building interface where you chat with Bloom and see your app preview.
Navigate through your app's screens and test functionality in full-screen mode.
Perfect for:
* User flow testing
* Sharing with others
* Experiencing the app as users will
### Database view
Access your Convex database directly from mobile. From the **More** tab, tap **View Database** to browse your tables and data.
**Shake your phone** to open the developer menu.
Access tools like:
* Reload app
* Debug options
* Performance monitoring
* Network inspector
**Press with three fingers** to trigger specific actions or open quick settings.
**Pinch inward** to exit preview mode and return to the Bloom interface.
Developer gestures can be enabled/disabled in **Settings** → **Gestures** within the Bloom app.
## Viewing your app structure
The mobile app includes views to understand and manage your app:
### App sections
The main building interface where you chat with Bloom and see your app preview.
Navigate through your app's screens and test functionality in full-screen mode.
Perfect for:
* User flow testing
* Sharing with others
* Experiencing the app as users will
### Database view
Access your Convex database directly from mobile. From the **More** tab, tap **View Database** to browse your tables and data.
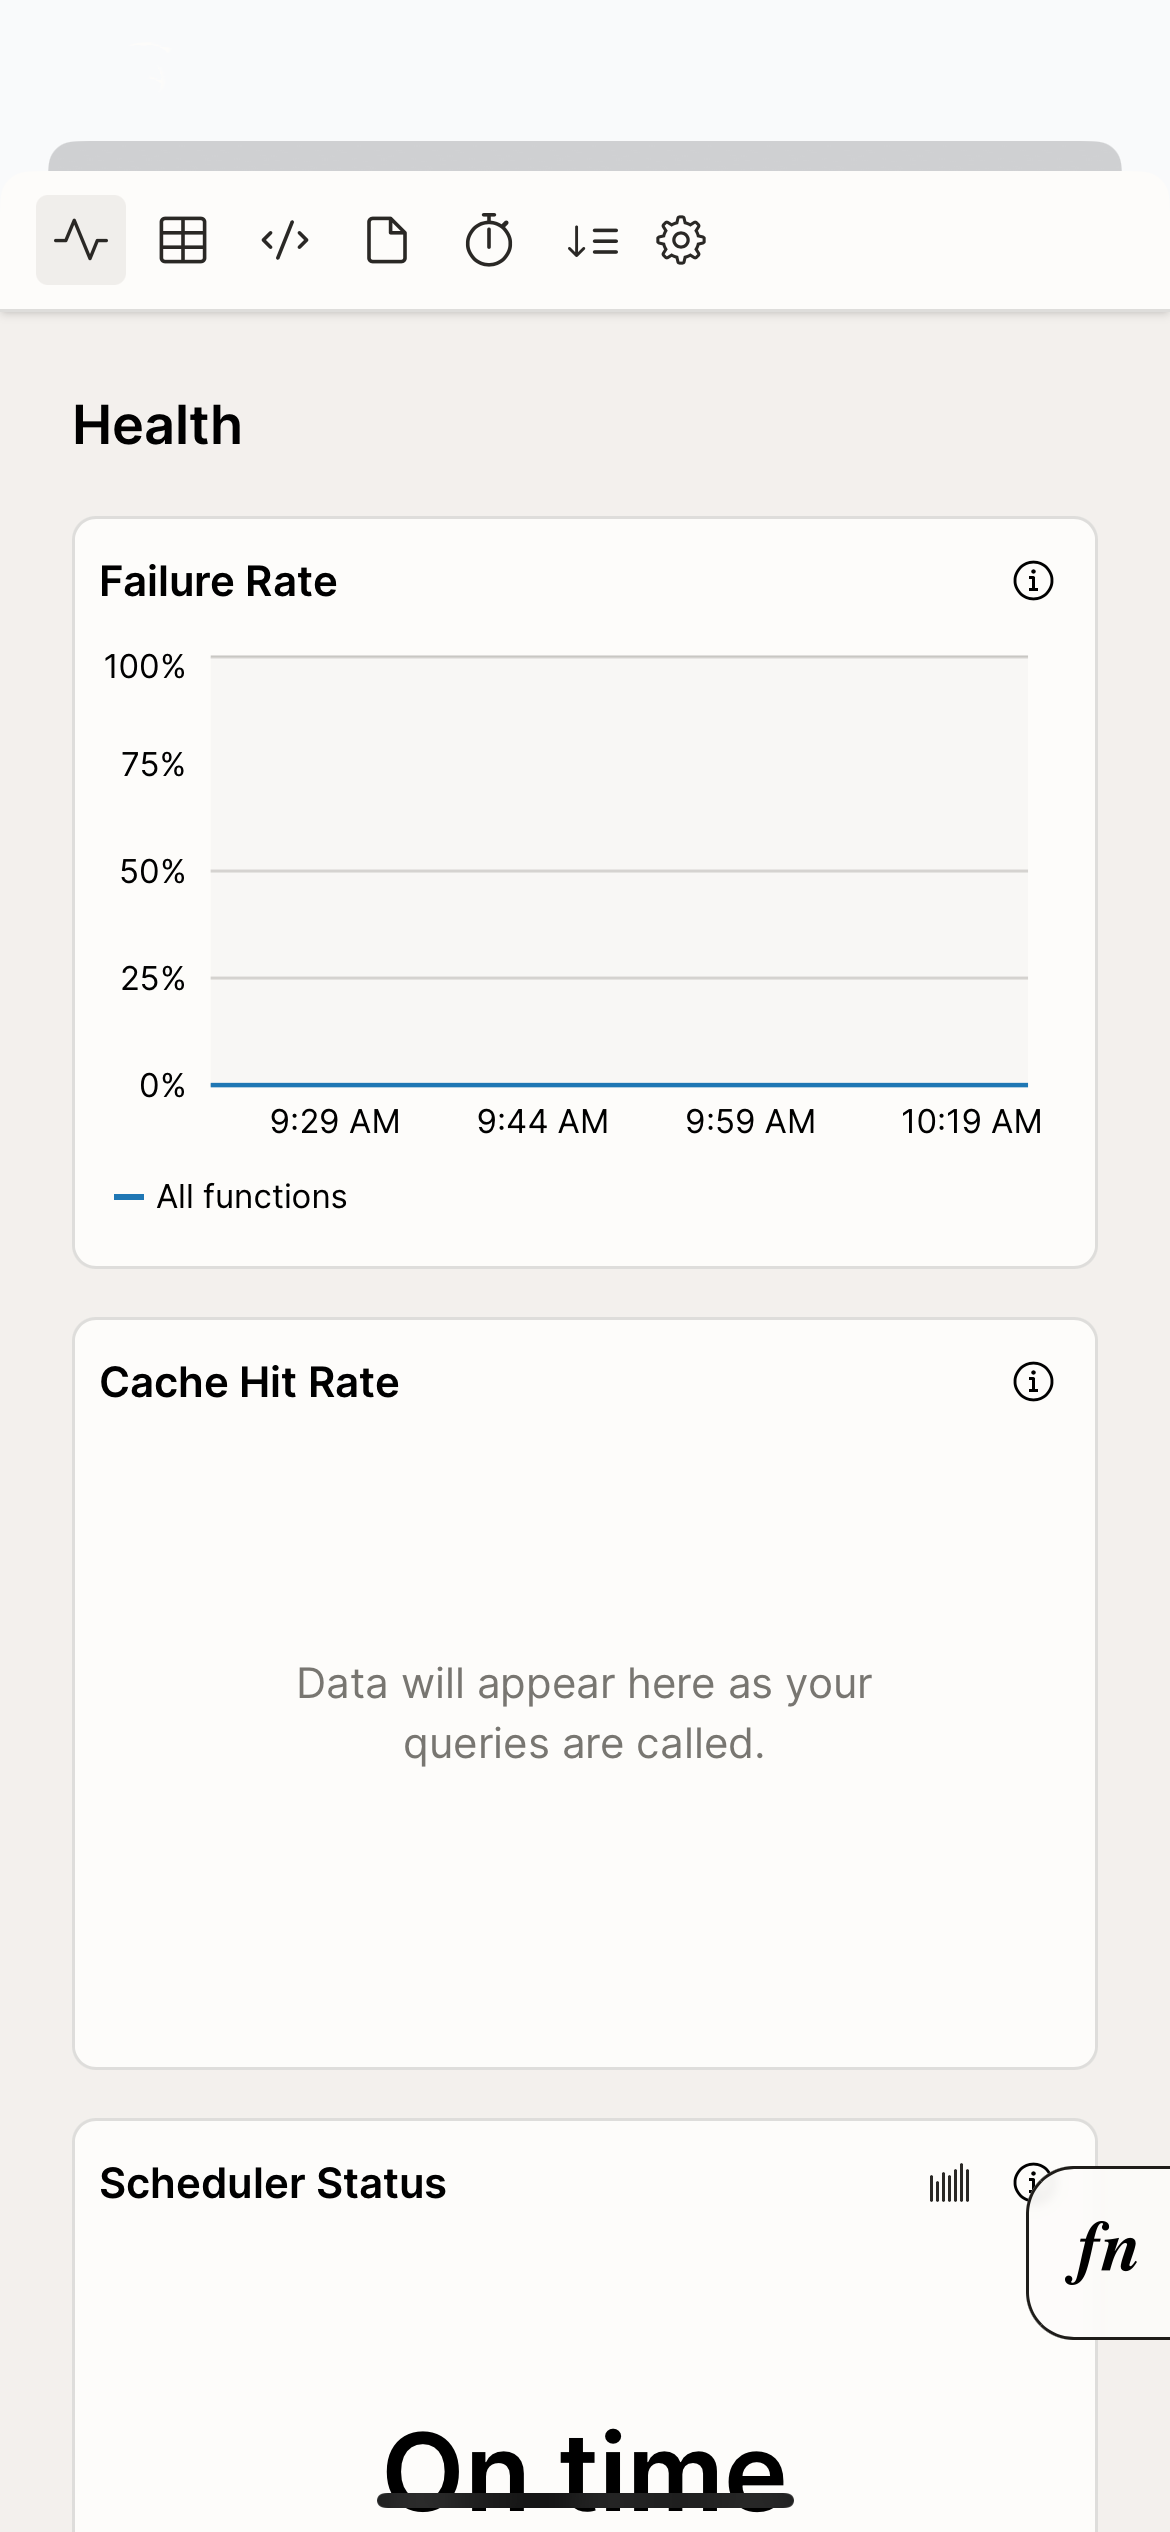 **What you can do:**
* Browse database tables
* View stored data
* Check document structure
* Verify data is saving correctly
The database view is read-only on mobile. For more detailed database management, use the web workspace's [**Backend Dashboard**](/backend-dashboard).
### Code preview
You can browse your app's generated code directly from your phone. From the **More** tab, tap **View Code** to open a modal with your project files.
**What you can do:**
* Browse database tables
* View stored data
* Check document structure
* Verify data is saving correctly
The database view is read-only on mobile. For more detailed database management, use the web workspace's [**Backend Dashboard**](/backend-dashboard).
### Code preview
You can browse your app's generated code directly from your phone. From the **More** tab, tap **View Code** to open a modal with your project files.
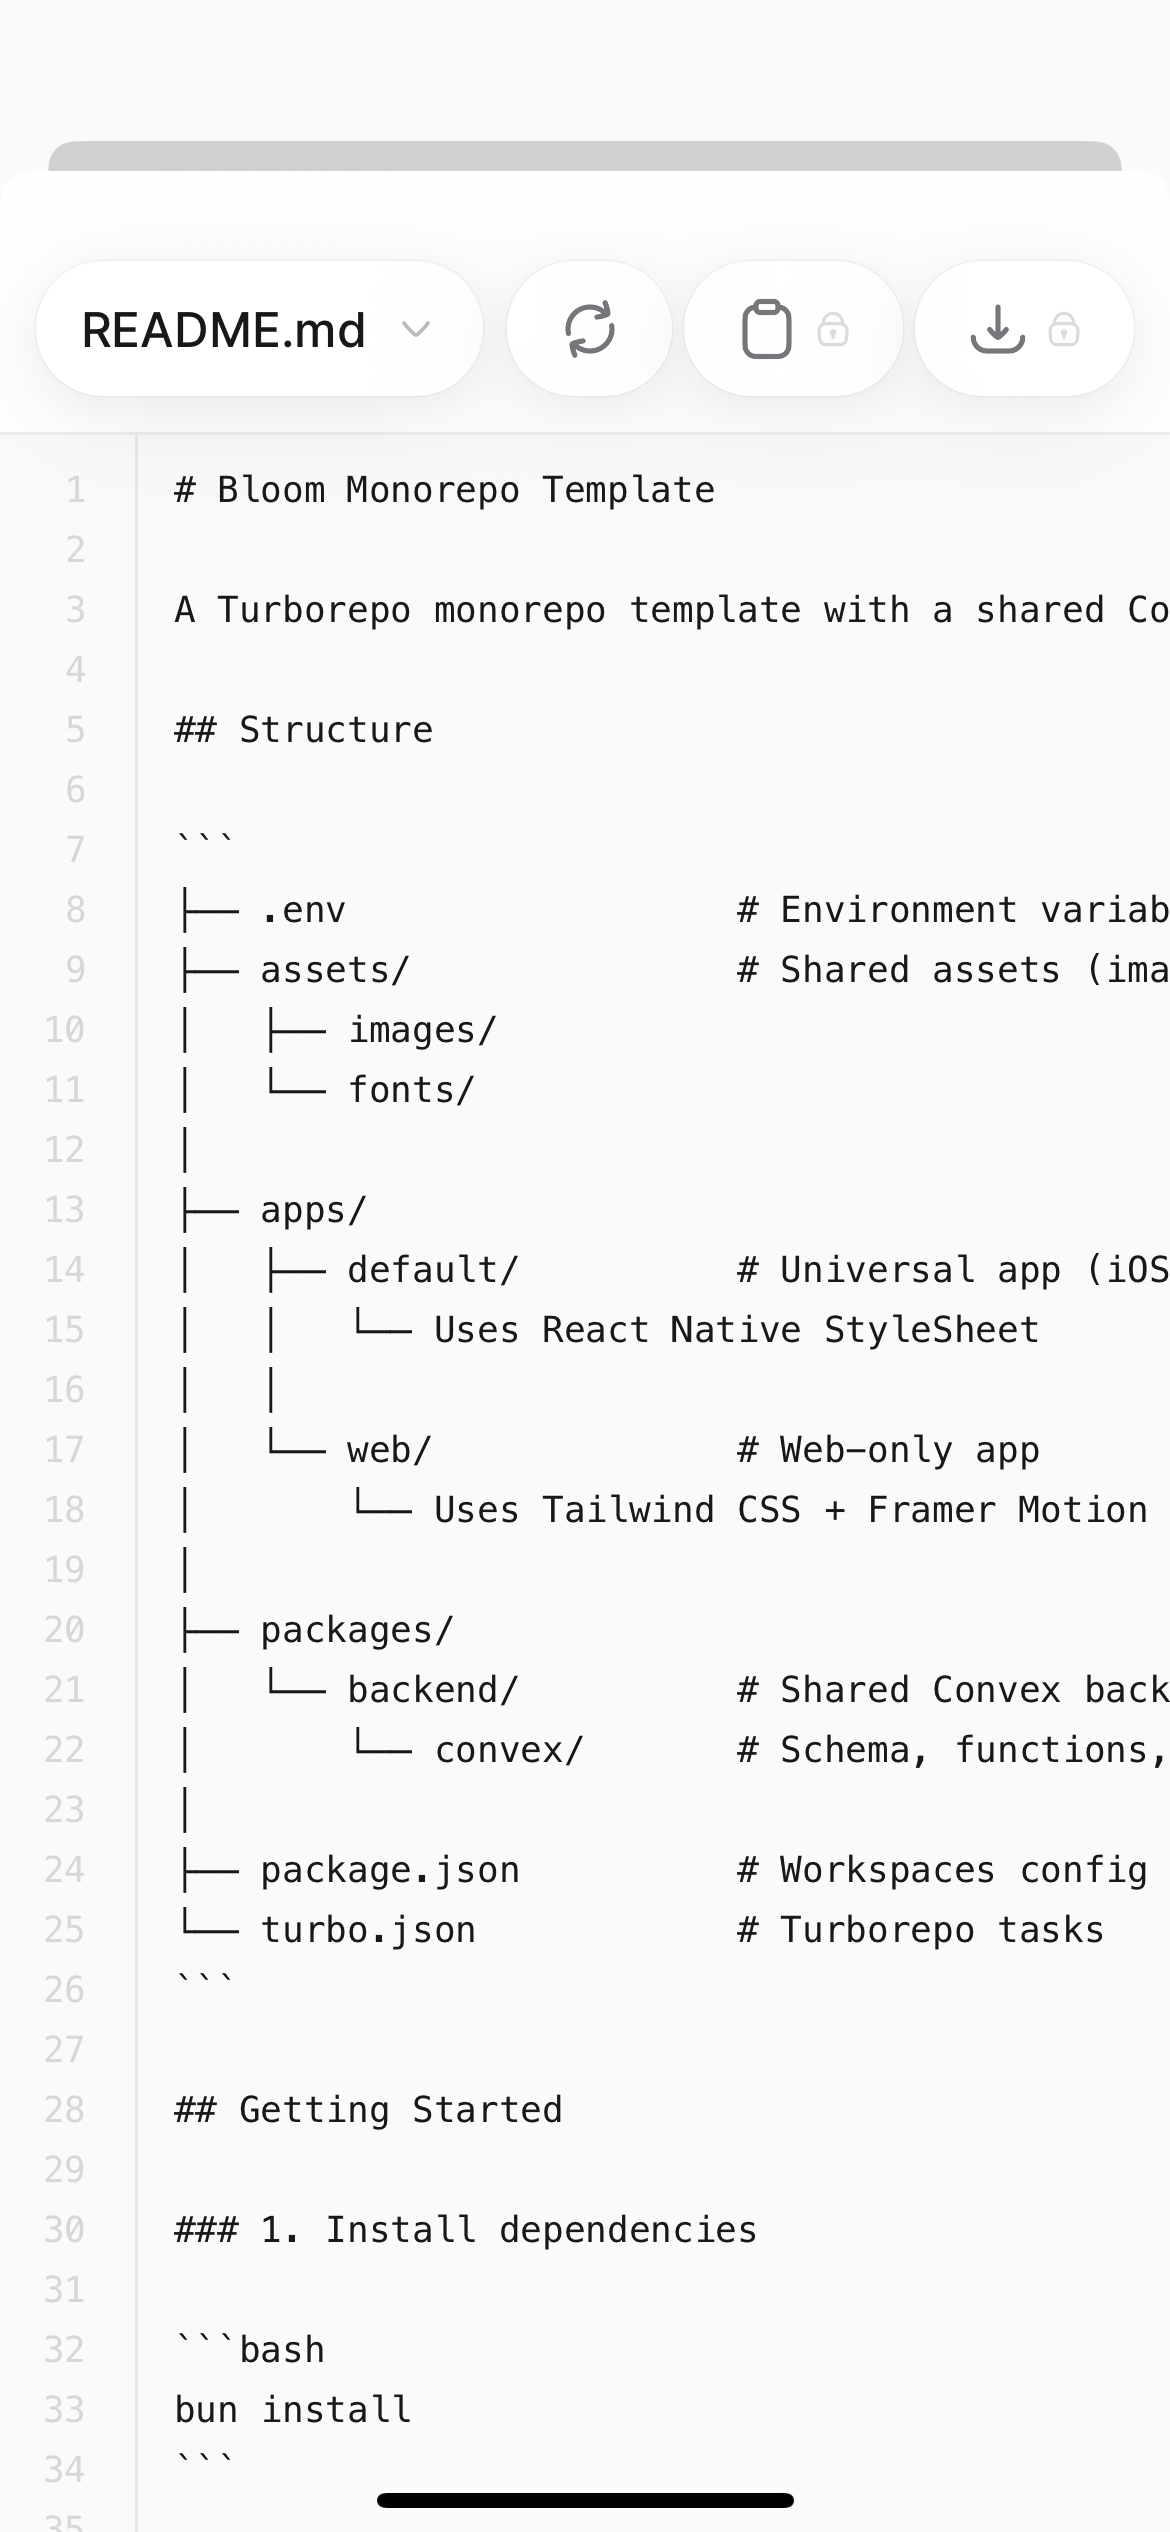 * **File dropdown** (top left) to switch between files in your project
* **Refresh** to reload the file contents
* **Copy** to copy the current file's contents to your clipboard (Starter plan and above)
* **Download** to download the file to your device (Starter plan and above)
Code files are read-only within Bloom. To edit code directly, use [**GitHub Sync**](/github-sync) or [**export your code**](/exporting-code).
For a full overview of browsing code on both web and mobile, see [**Code Preview**](/code-preview).
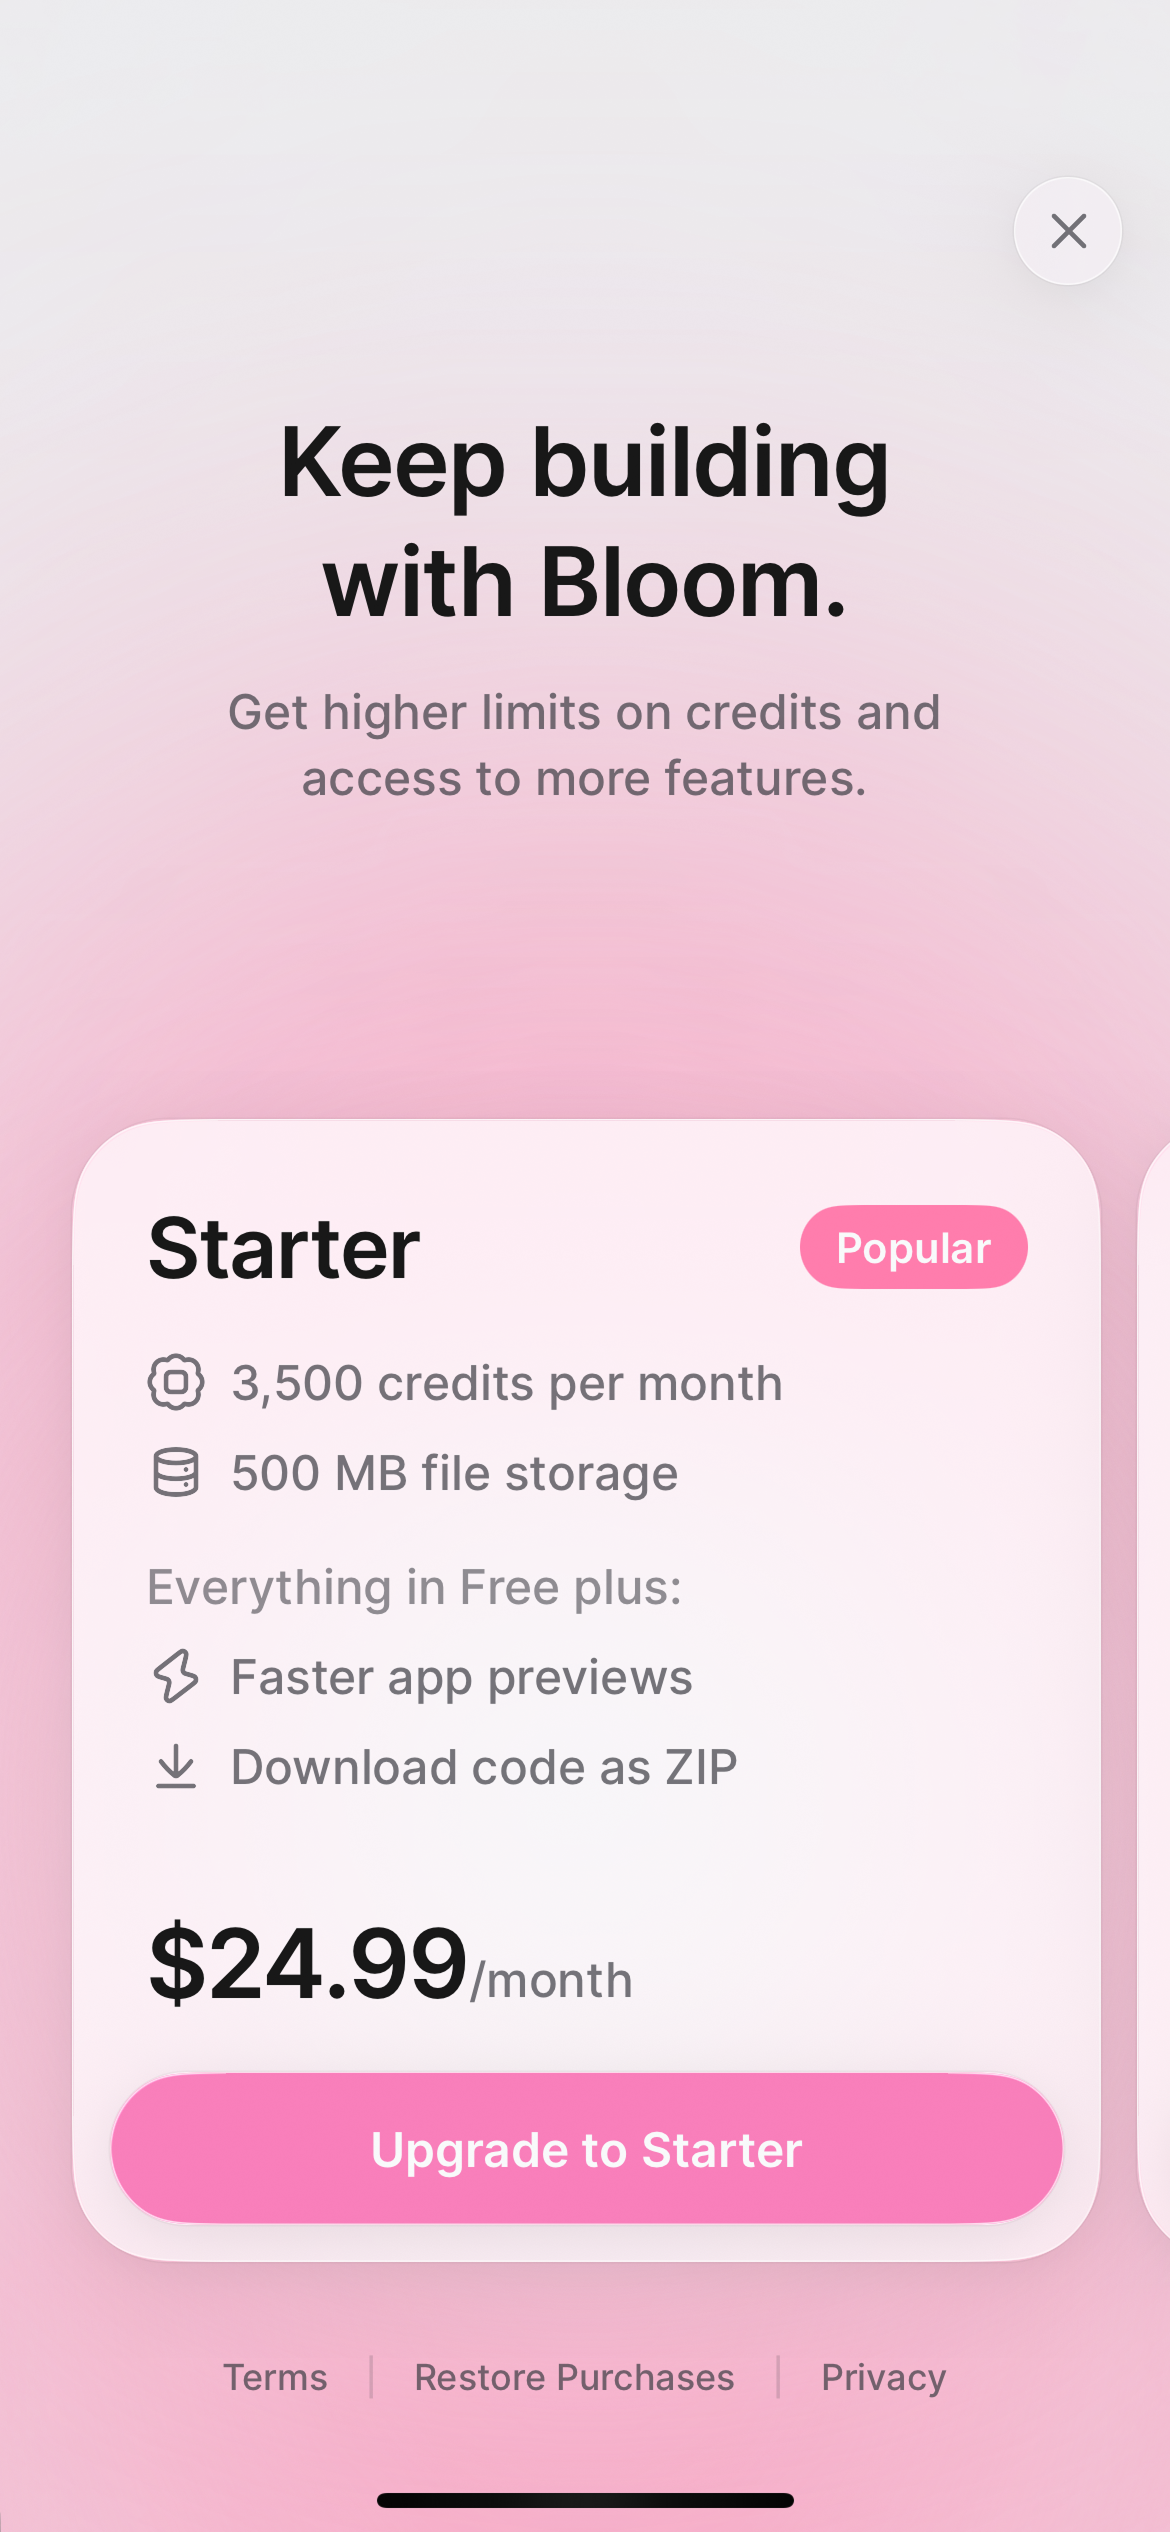
## Upgrading your plan on mobile
You can upgrade your plan directly from the app.
From the dashboard, tap your **profile image** in the top right corner.
Select **Upgrade Plan** from the menu to see available plans.
* **File dropdown** (top left) to switch between files in your project
* **Refresh** to reload the file contents
* **Copy** to copy the current file's contents to your clipboard (Starter plan and above)
* **Download** to download the file to your device (Starter plan and above)
Code files are read-only within Bloom. To edit code directly, use [**GitHub Sync**](/github-sync) or [**export your code**](/exporting-code).
For a full overview of browsing code on both web and mobile, see [**Code Preview**](/code-preview).
## Upgrading your plan on mobile
You can upgrade your plan directly from the app.
From the dashboard, tap your **profile image** in the top right corner.
Select **Upgrade Plan** from the menu to see available plans.
 ## Buying credits on mobile
If you're running low on credits, you can top up directly from the app without switching to web.
From the dashboard, tap your **profile image** in the top right corner.
Select **Buy Credits** from the menu to see top-up options.
## Buying credits on mobile
If you're running low on credits, you can top up directly from the app without switching to web.
From the dashboard, tap your **profile image** in the top right corner.
Select **Buy Credits** from the menu to see top-up options.
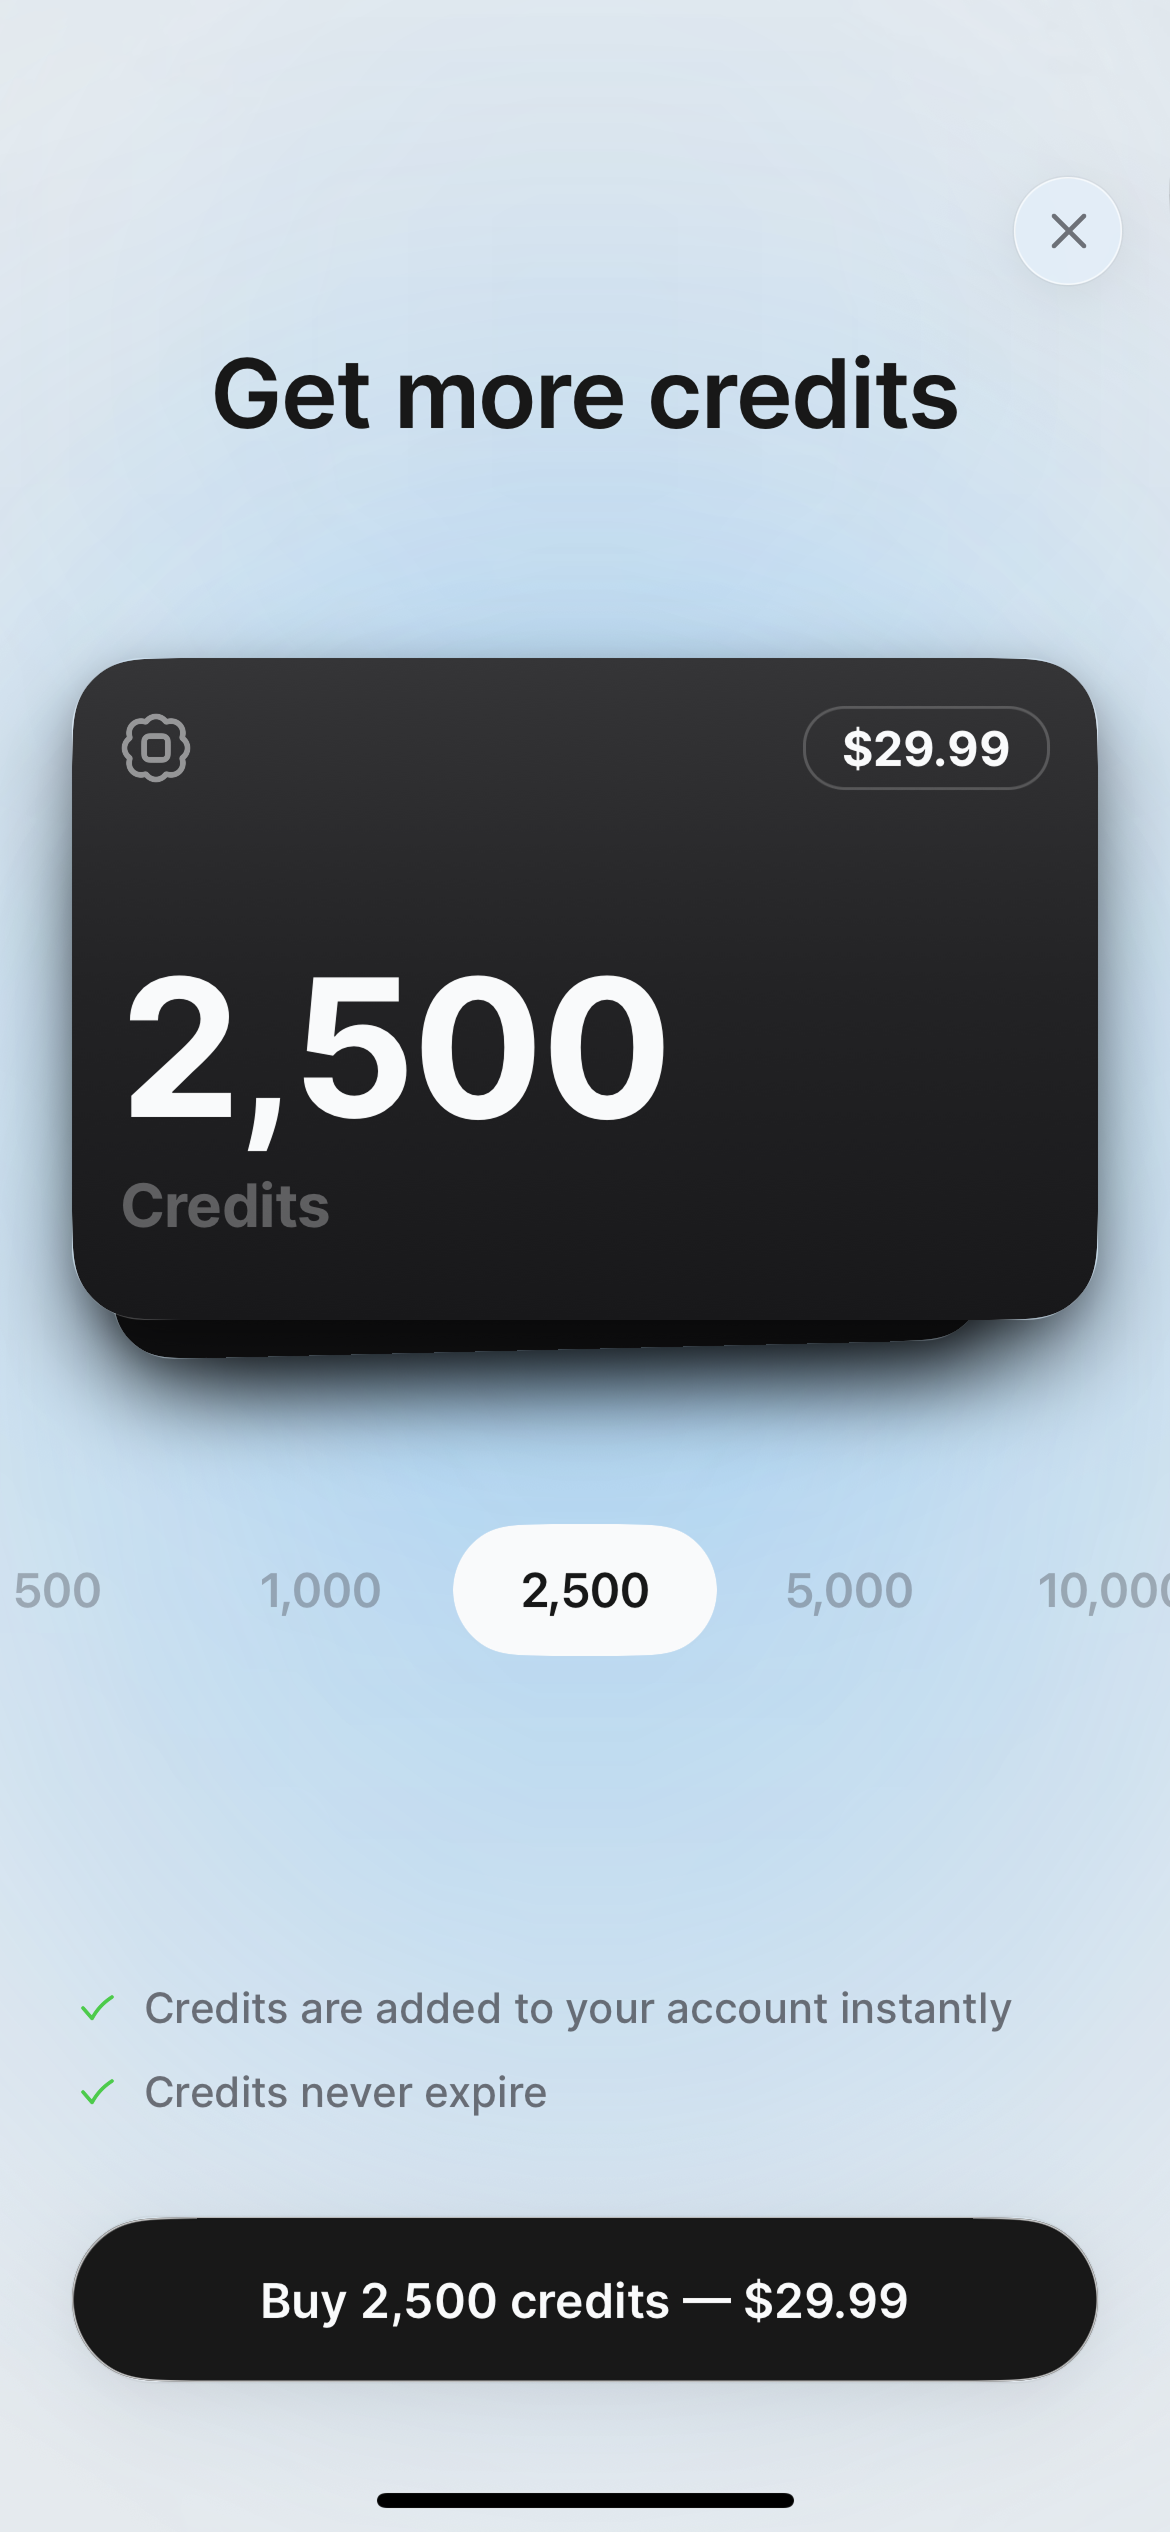 Top-ups are one-time purchases that add to your balance immediately and never expire.
## Sharing from mobile
Generate share links instantly from your phone:
In your app preview, tap the **share** button in the toolbar.
**Options:**
* **Copy link** — Get a shareable URL
* **Show QR code** — Display a QR code for others to scan
* **Share via...** — Use your device's native share sheet (Messages, Email, etc.)
Anyone with the link or QR code can try your app immediately on their device.
Sharing from mobile is perfect for in-person demos at meetings, conferences, or casual conversations.
[Learn more about sharing →](/instant-sharing)
## Collaboration on mobile
### Version history
See past versions of your app and restore if needed:
From the **More** tab, select **Version History**.
See all saved versions with timestamps and descriptions of changes.
Tap any version to preview it, then choose **Restore** if you want to revert to that state.
Restoring a version will overwrite your current app state. Make sure you want to go back before confirming.
### Mobile vs. web: when to use each
Quick iterations and idea sketching
Native device testing
Building simple apps start to finish
On-the-go changes and updates
In-person demos and sharing
Learning Bloom while commuting or traveling
Complex backend configuration
Detailed code exploration (when available)
Managing environment variables
Advanced debugging with logs
Setting up API integrations
Exporting code or GitHub sync
**Best practice:** Start on mobile for rapid prototyping, then move to web for refinement and configuration. Or vice versa—whatever fits your workflow!
## Limitations on mobile
Some features are currently **web-only**:
* Environment variable management
* API connection configuration
* Code export and GitHub sync
* Detailed backend metrics
For these tasks, switch to the web workspace.
## Syncing between devices
Your apps sync automatically across all devices:
Edit your app, add features, or fix issues from your phone.
Open the same app in your web browser—all changes are already there.
Work seamlessly across phone, tablet, and computer without manual syncing.
Your entire app—code, data, settings—is always in sync across devices.
## What's next?
Use the full workspace for complex features and backend configuration.
Generate links and QR codes to demo your app to anyone.
Monitor your app's health and performance (best on web).
Ready to publish? Learn how to deploy to app stores.
**New to app building?** The mobile app is a great way to start—experiment, learn, and create without the complexity of traditional development tools.
Top-ups are one-time purchases that add to your balance immediately and never expire.
## Sharing from mobile
Generate share links instantly from your phone:
In your app preview, tap the **share** button in the toolbar.
**Options:**
* **Copy link** — Get a shareable URL
* **Show QR code** — Display a QR code for others to scan
* **Share via...** — Use your device's native share sheet (Messages, Email, etc.)
Anyone with the link or QR code can try your app immediately on their device.
Sharing from mobile is perfect for in-person demos at meetings, conferences, or casual conversations.
[Learn more about sharing →](/instant-sharing)
## Collaboration on mobile
### Version history
See past versions of your app and restore if needed:
From the **More** tab, select **Version History**.
See all saved versions with timestamps and descriptions of changes.
Tap any version to preview it, then choose **Restore** if you want to revert to that state.
Restoring a version will overwrite your current app state. Make sure you want to go back before confirming.
### Mobile vs. web: when to use each
Quick iterations and idea sketching
Native device testing
Building simple apps start to finish
On-the-go changes and updates
In-person demos and sharing
Learning Bloom while commuting or traveling
Complex backend configuration
Detailed code exploration (when available)
Managing environment variables
Advanced debugging with logs
Setting up API integrations
Exporting code or GitHub sync
**Best practice:** Start on mobile for rapid prototyping, then move to web for refinement and configuration. Or vice versa—whatever fits your workflow!
## Limitations on mobile
Some features are currently **web-only**:
* Environment variable management
* API connection configuration
* Code export and GitHub sync
* Detailed backend metrics
For these tasks, switch to the web workspace.
## Syncing between devices
Your apps sync automatically across all devices:
Edit your app, add features, or fix issues from your phone.
Open the same app in your web browser—all changes are already there.
Work seamlessly across phone, tablet, and computer without manual syncing.
Your entire app—code, data, settings—is always in sync across devices.
## What's next?
Use the full workspace for complex features and backend configuration.
Generate links and QR codes to demo your app to anyone.
Monitor your app's health and performance (best on web).
Ready to publish? Learn how to deploy to app stores.
**New to app building?** The mobile app is a great way to start—experiment, learn, and create without the complexity of traditional development tools.