When to use the web app
Starting a new project
The web workspace is ideal for creating your first version and setting up core features.
Reviewing your code
Browse your app’s structure and understand how components connect to backend functions.
Backend configuration
Managing environment variables, API keys, and deployment settings is easiest on web.
Debugging issues
Access logs, backend dashboard, and all diagnostic tools in one place.
Team collaboration
Share your screen during meetings or work alongside teammates on larger displays.
Complex features
When building sophisticated logic, data models, or integrations, the web workspace provides more screen space and tools.
Creating your first app
Open Bloom in your browser
Navigate to bloom.diy and sign in to your account.If you don’t have an account yet, sign up with Google, GitHub, or email.
Describe what you want to build
In the prompt, describe your app idea in natural language.
Prompting tips
Prompting tips
Be specific about:Less helpful example:
- The main purpose (e.g., “habit tracker,” “recipe manager”)
- Key features (e.g., “daily check-ins,” “photo uploads”)
- User flows (e.g., “users can create, edit, and delete entries”)
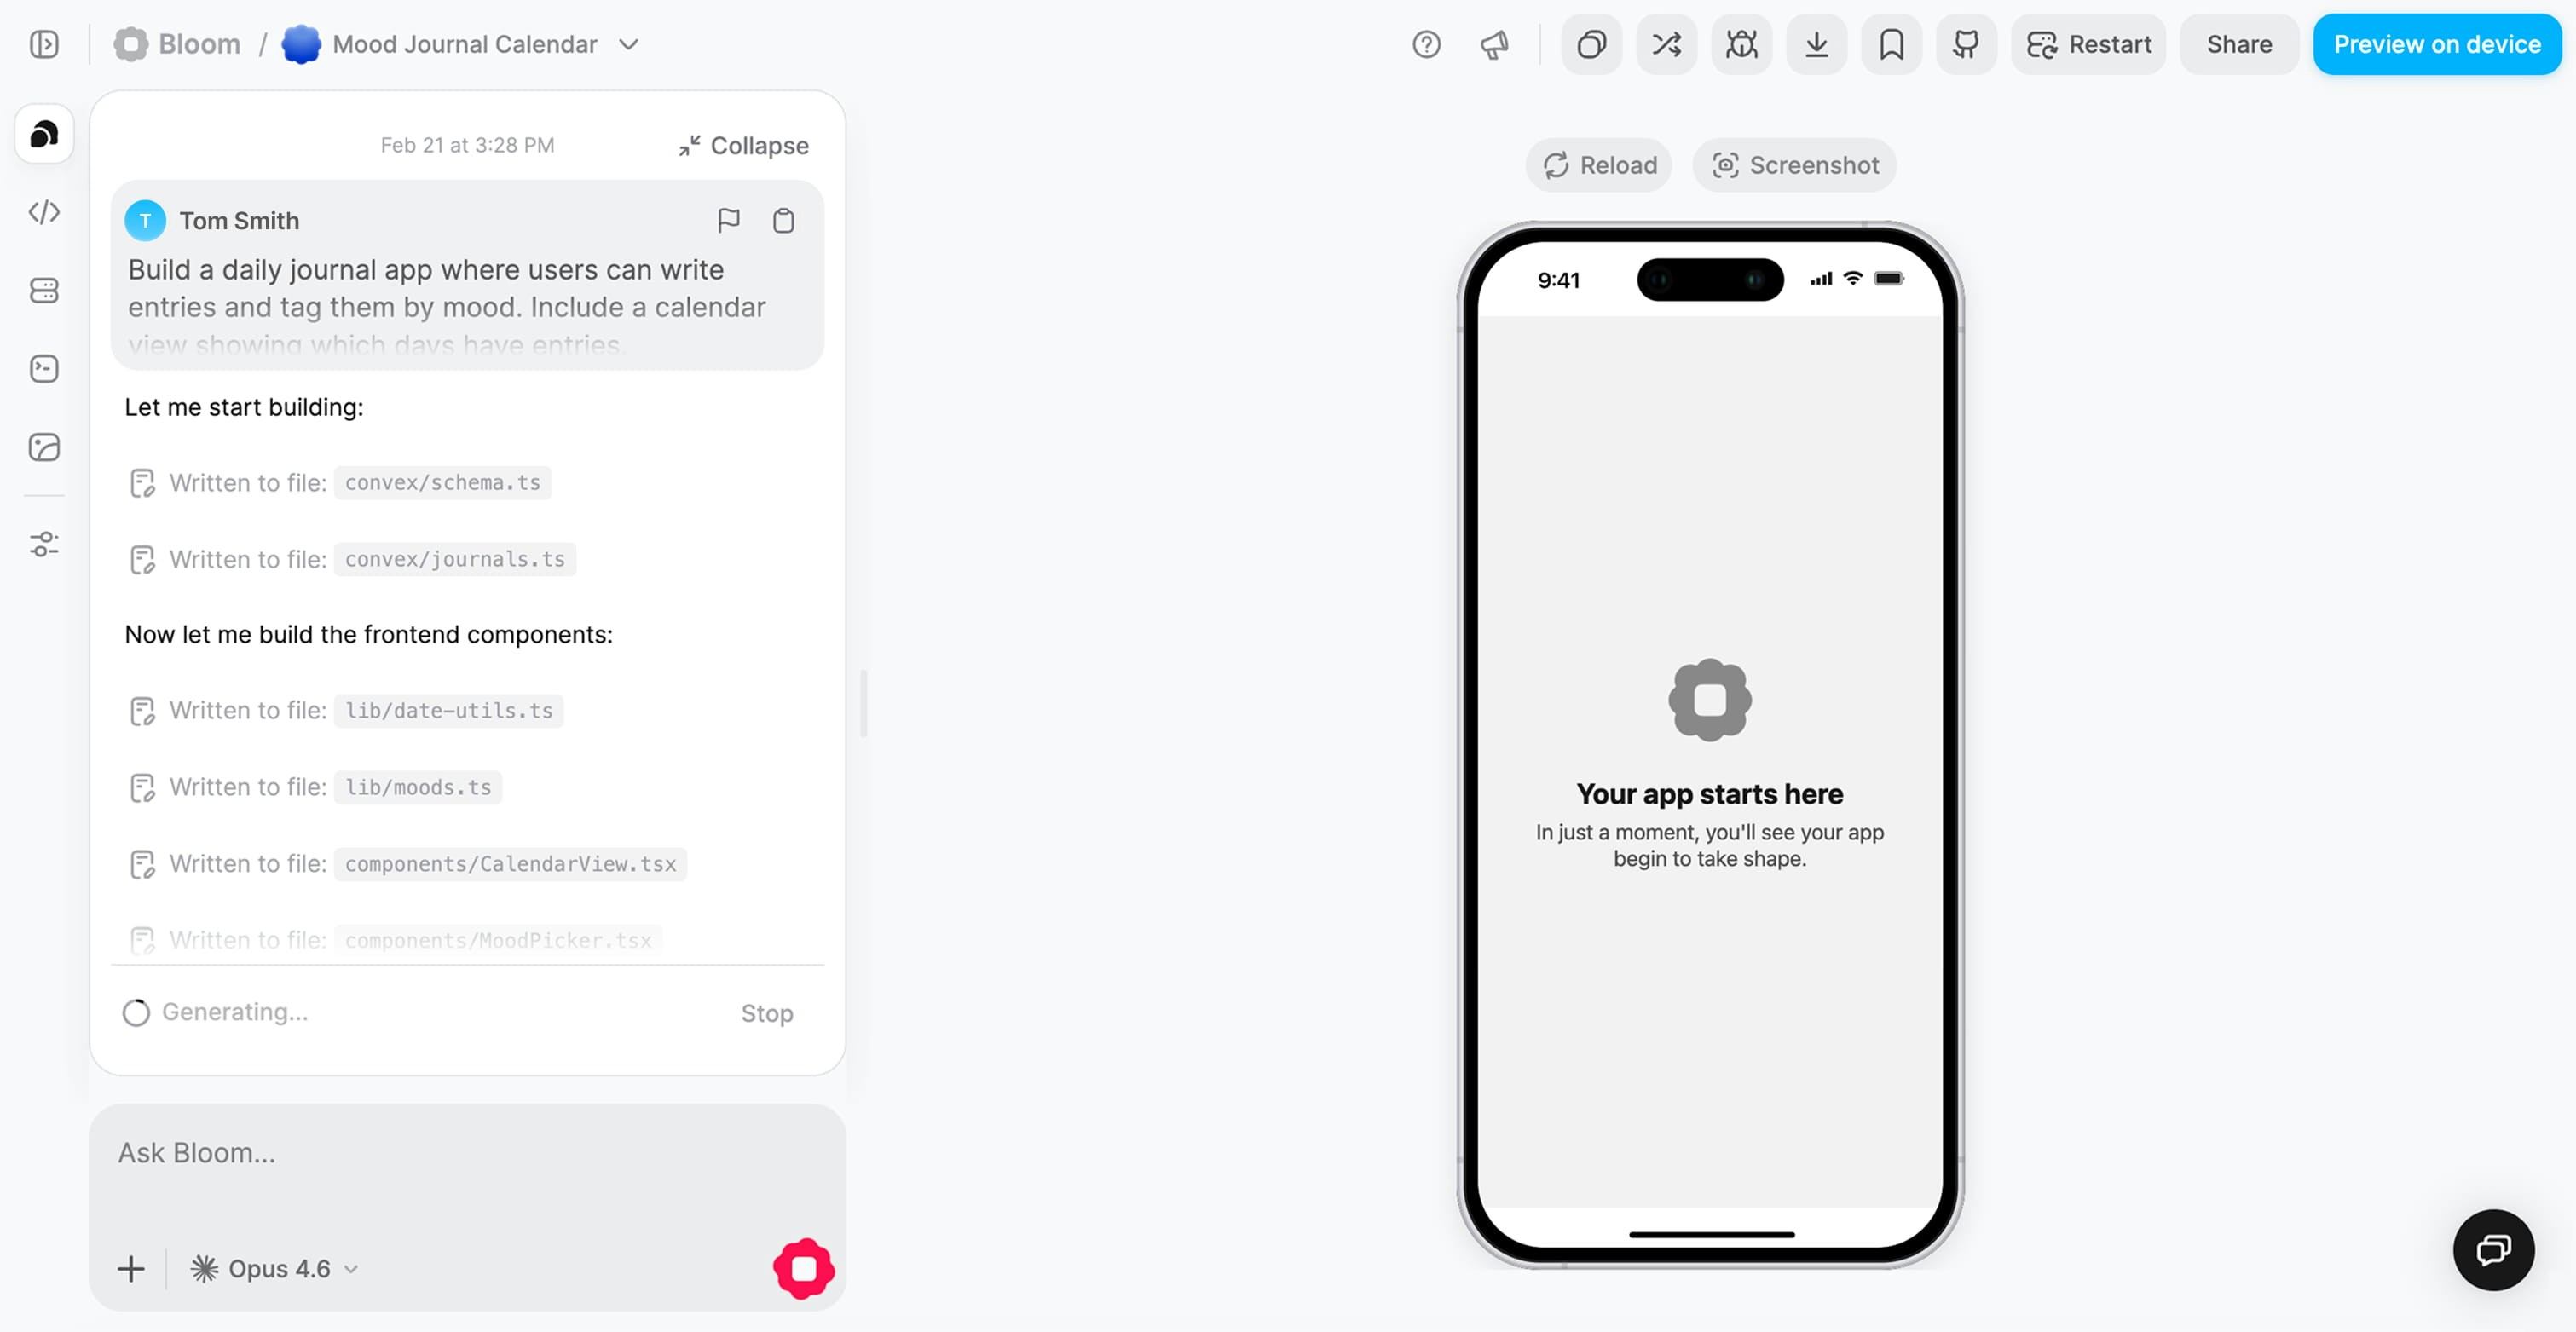
Bloom generates your app
Bloom creates your full-stack app:
- Frontend — Expo project with screens and UI components
- Backend — Convex functions, database schema, and API endpoints
- Authentication — OAuth configuration ready to enable
- Preview — Your app running live in the right panel
Preview your app
Once generation completes, you’ll see your app running in the preview panel.
Click through the screens
Test core functionality
Identify what works and what needs refinement
Choosing a model
You can choose which AI model Bloom uses to generate your code. The model selector is to the right of the + button in the bottom left corner of the chat input.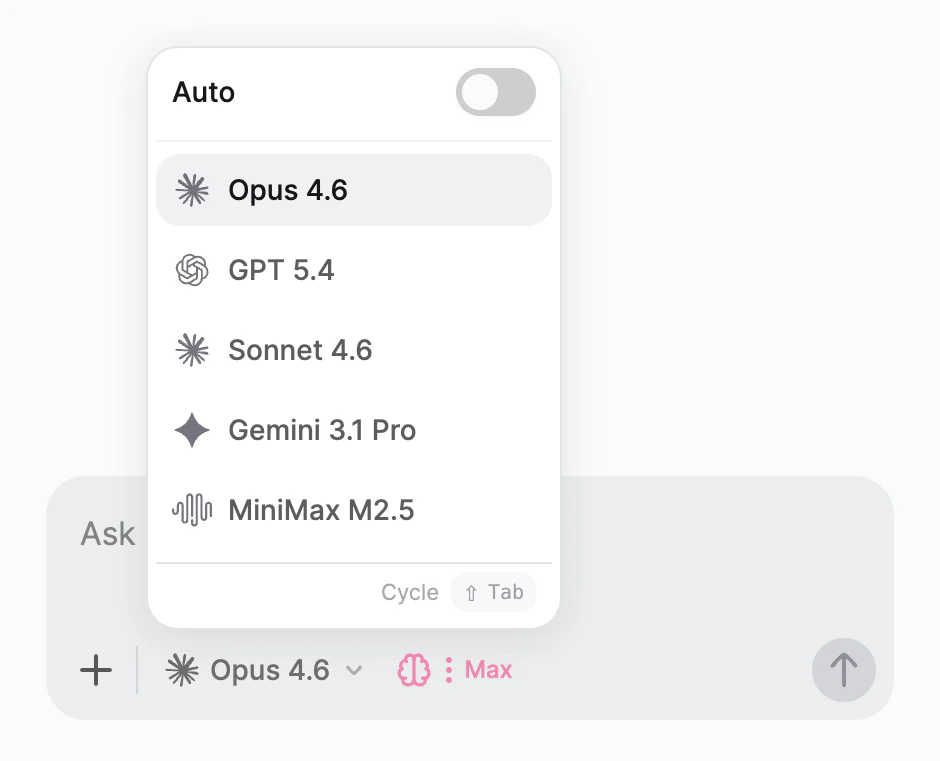
| Model | Cost | Best for |
|---|---|---|
| Auto (default) | Varies | Bloom picks the best model for each request |
| MiniMax M2.5 | $ | Lighter, faster generations |
| Gemini 3.1 Pro | $$ | Balanced speed and quality |
| Sonnet 4.6 | $$ | Balanced speed and quality |
| GPT 5.3 Codex | $$$ | Complex, high-quality generations |
| Opus 4.6 | $$$ | Complex, high-quality generations |
Working with the preview
Testing your app
The live preview lets you interact with your app as if you’re using it on a real device:Click and navigate
Tap buttons, fill out forms, navigate between screens—everything is interactive.
Test user flows
Walk through complete user journeys from start to finish to verify functionality.
Check responsiveness
Resize the preview to see how your app adapts to different screen sizes.
Verify real-time updates
For apps with live data, open multiple browser windows to test sync across devices.
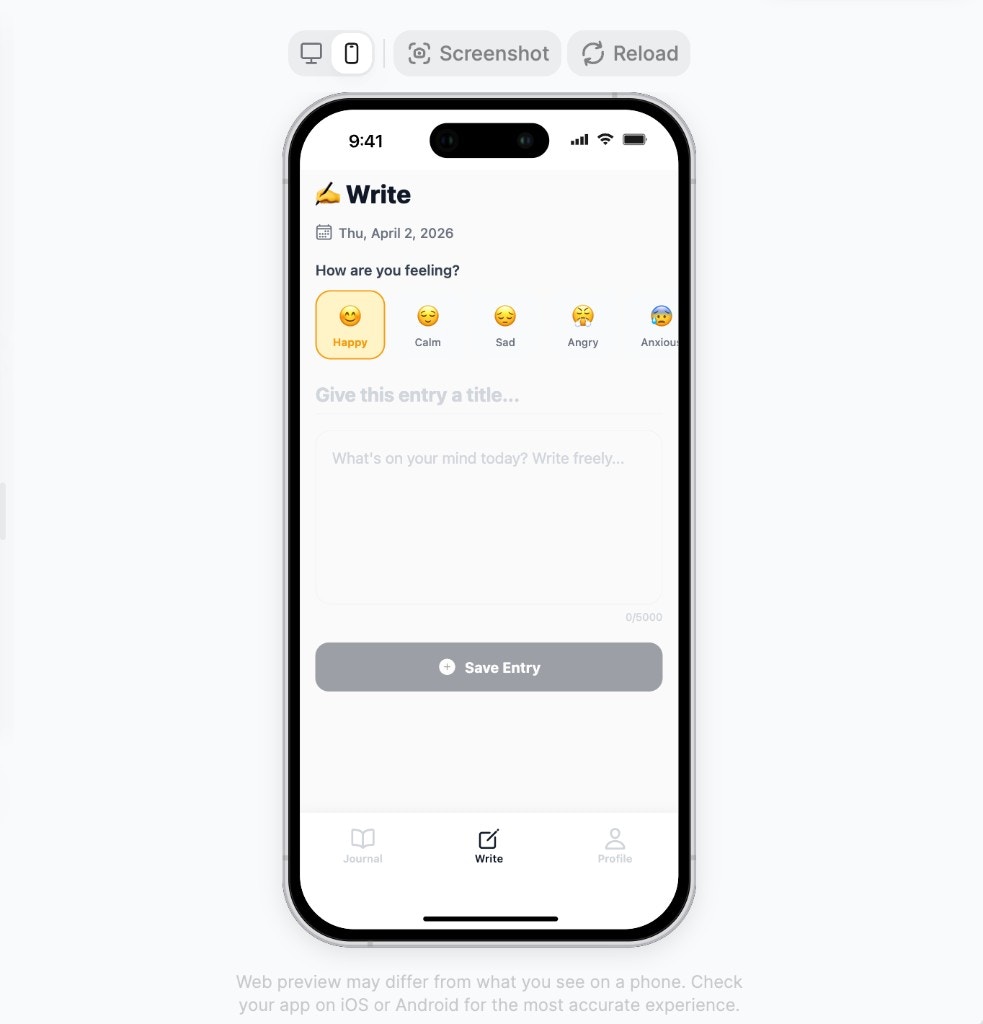
Switching between web and mobile preview
The preview toolbar includes a toggle that lets you switch between a web layout and a mobile device frame. Use it to verify that your app looks and feels right on both platforms without leaving the workspace.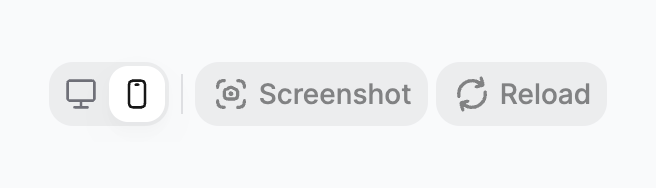
- Web preview
- Mobile preview
The web preview shows your app in a full-width browser layout. This is the best way to check responsive design, wide layouts, and desktop interactions.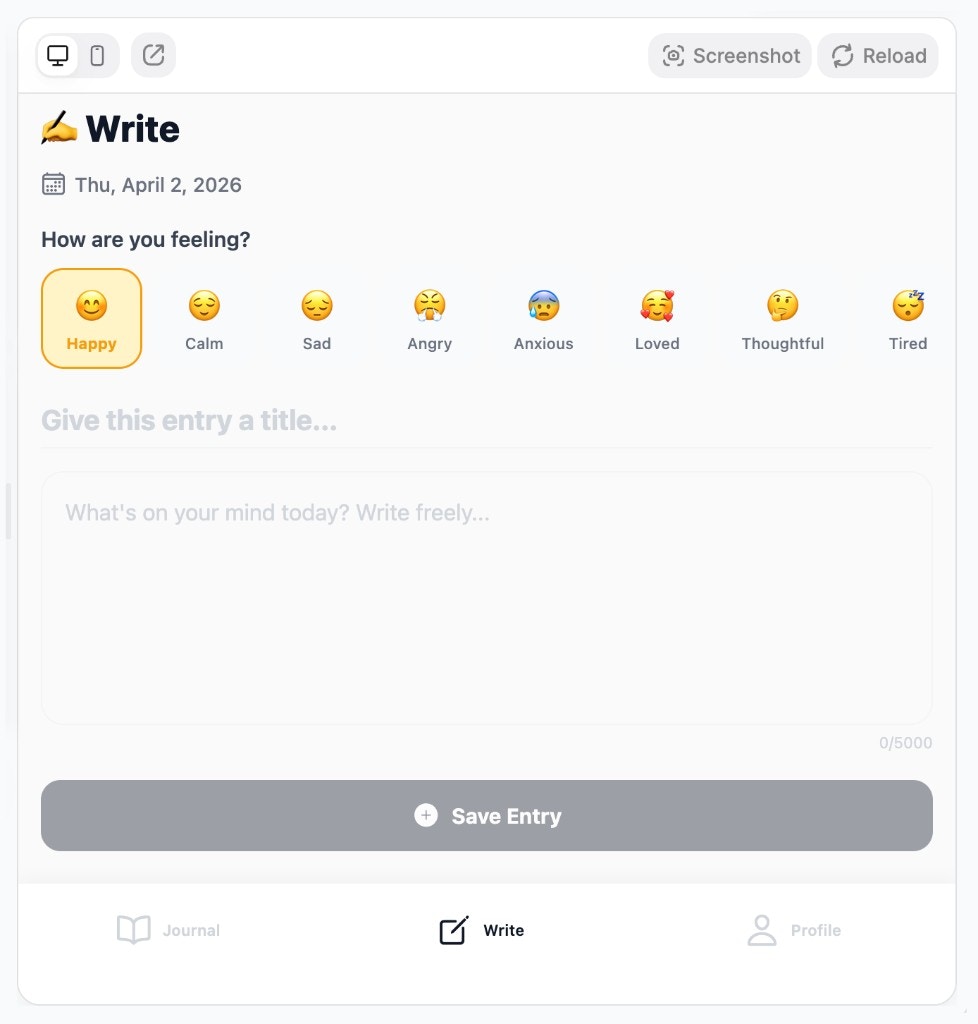
Preview on your phone
For the most accurate testing, preview your app natively on your device.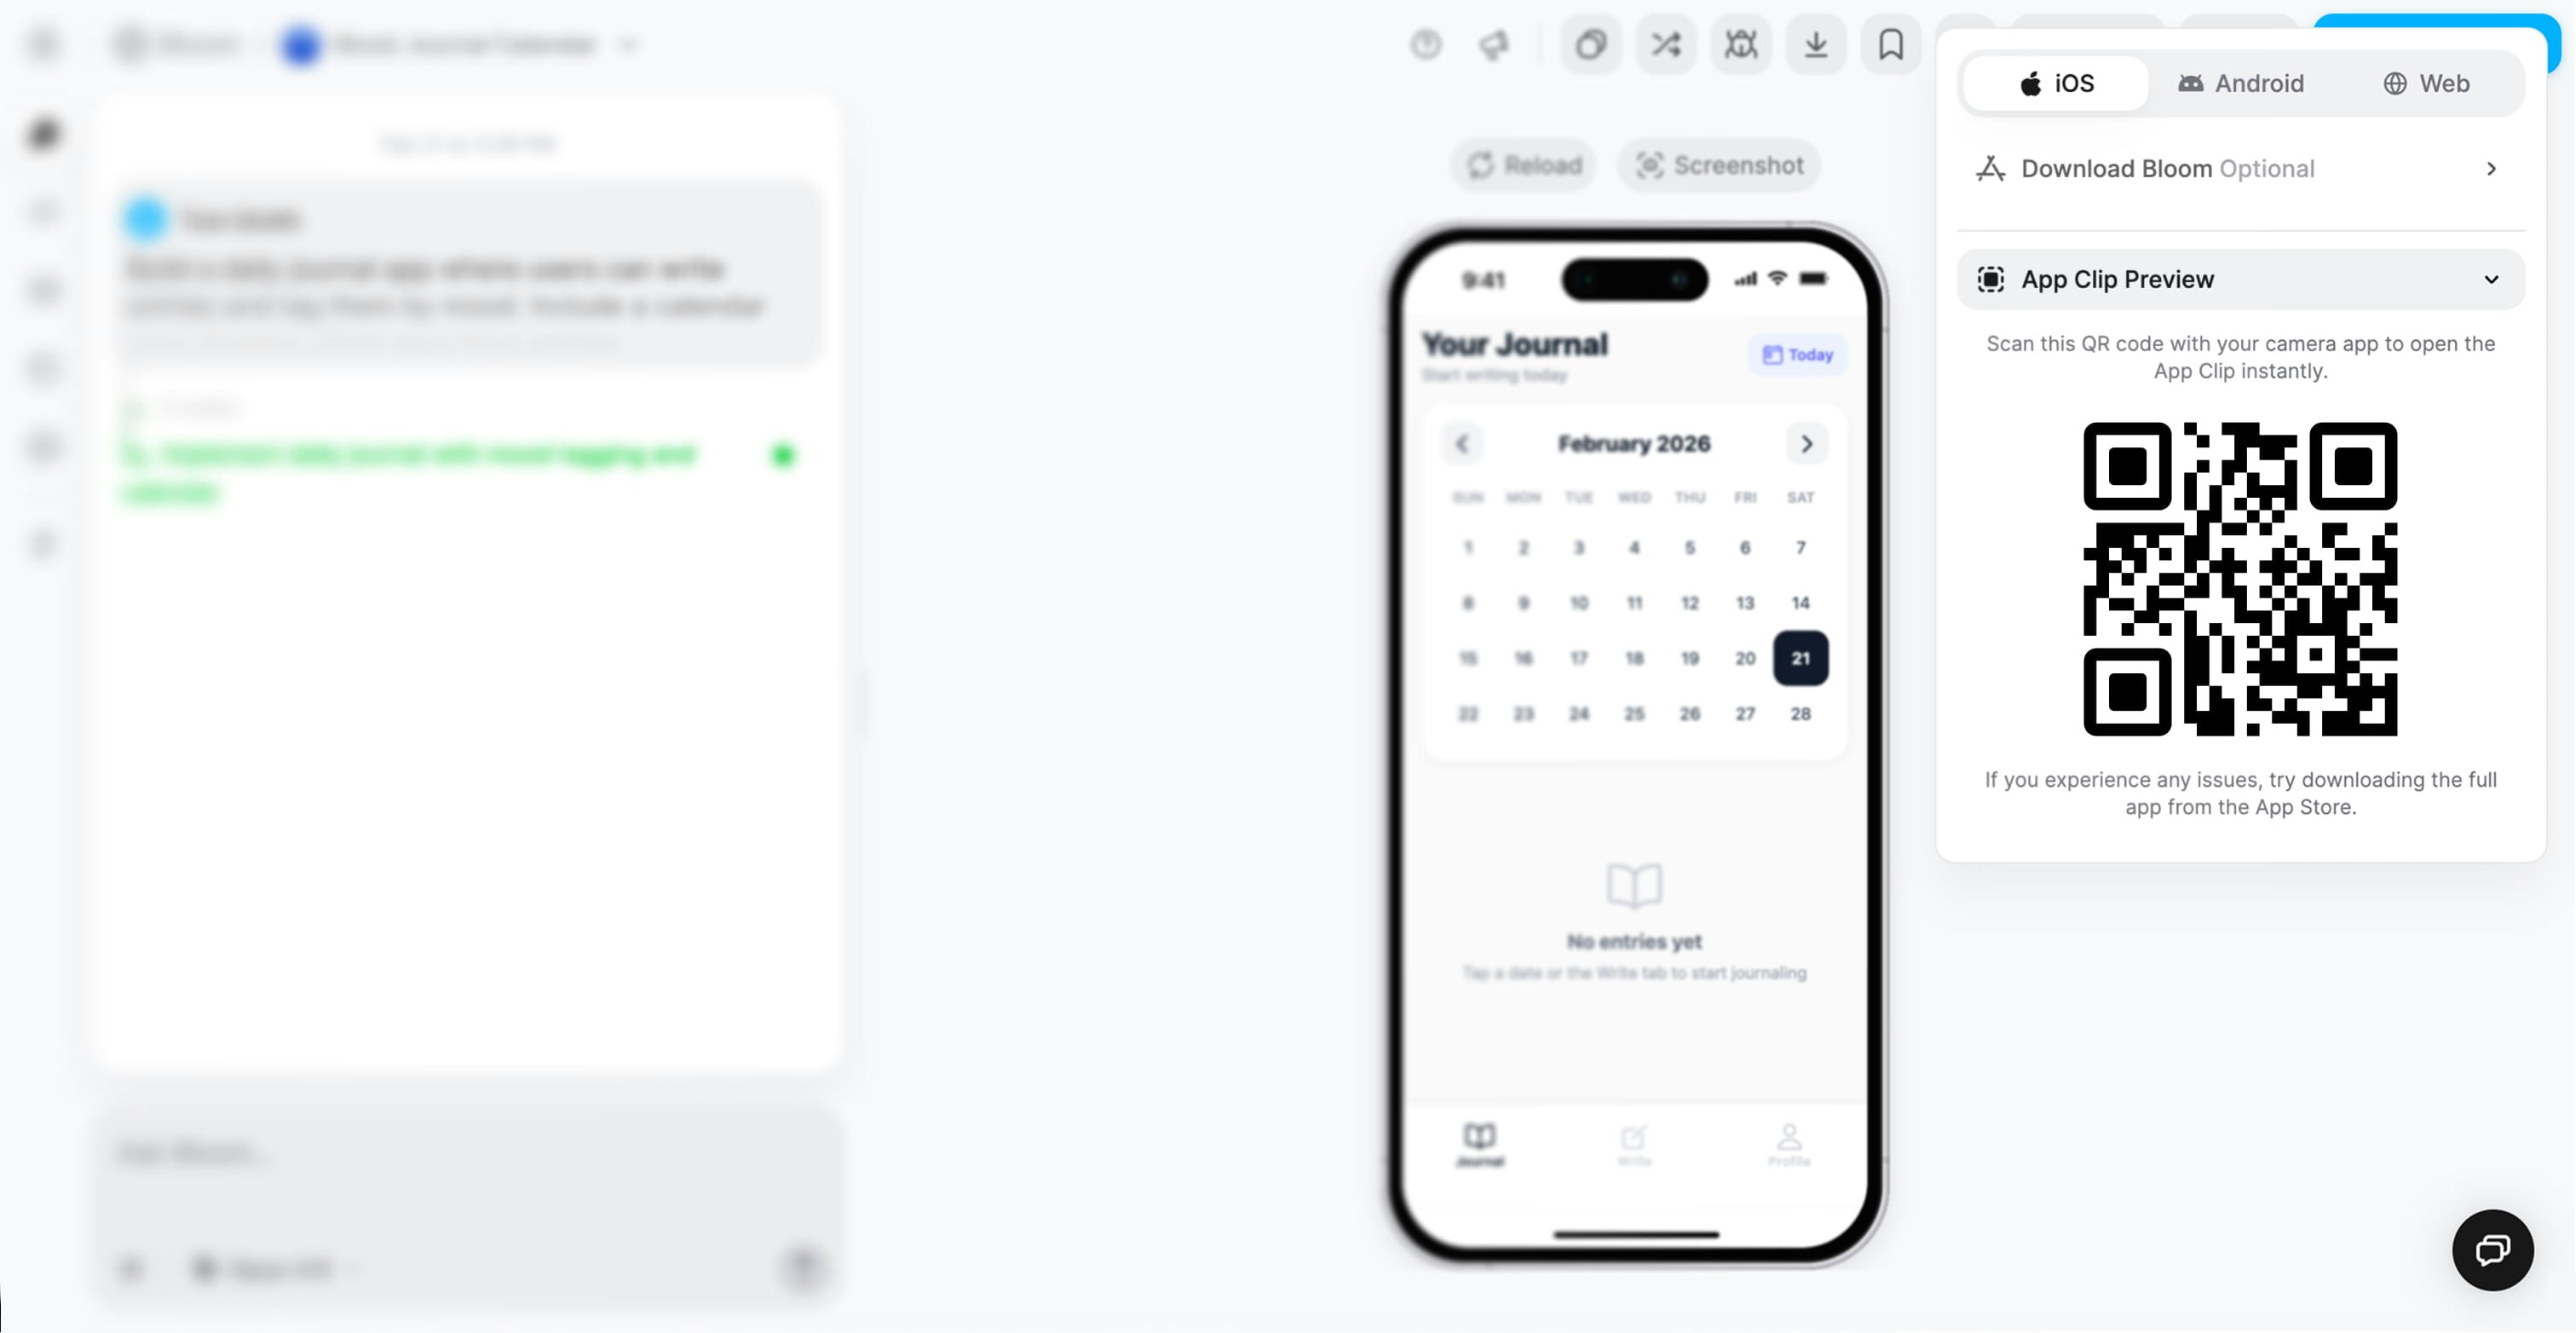
- iOS
- Android
- Web
App Clip PreviewOn iOS, Bloom uses App Clips, a native iOS feature that lets users run apps instantly without installation.
Making changes
Using the chat
The chat interface is your primary way to modify your app:Adding features
Adding features
Example prompts:
- “Add a dark mode toggle to the settings screen”
- “Let users filter the list by category”
- “Include a search bar at the top of the home screen”
- “Add push notifications when someone comments”
Modifying UI
Modifying UI
Example prompts:
- “Make the buttons larger and rounded”
- “Change the color scheme to blue and white”
- “Add icons to the navigation tabs”
- “Show user avatars as circles instead of squares”
Fixing bugs
Fixing bugs
Example prompts:
- “The save button isn’t working—can you fix it?”
- “Users can’t delete items from the list”
- “The app crashes when I tap the profile icon”
- “Photos aren’t uploading correctly”
Backend logic
Backend logic
Example prompts:
- “Add validation so users can’t submit empty forms”
- “Only show items created by the current user”
- “Send an email notification when someone signs up”
- “Automatically delete items older than 30 days”
Monitoring changes
- Watch the generation progress — Bloom shows what it’s updating
- Preview automatically updates — See your changes as soon as generation completes
- Check the logs — Verify no new errors appeared
- Test the modified feature — Confirm it works as expected
If a change doesn’t work as you hoped, describe the issue in chat and Bloom will try again.
Using backend tools
Backend Dashboard
Monitor your app’s performance and health:Health metrics
Track failure rates, cache performance, and system status.
Data browser
View tables, documents, and database schema.
Function inspector
See all Convex functions and their organization.
Logs
Debug issues and monitor activity:- Filter by Frontend/Backend to isolate issues
- Search for specific errors or events
- Track logs since last deploy to focus on recent changes
Authentication
Configure user sign-in:- Toggle OAuth providers (Google, GitHub, Apple)
- Add custom OAuth credentials for branded login
- Copy authorized origin URLs for setup
API Connections
Integrate external services:- Use auto-provisioned Bloom keys for instant setup
- Add your own API keys for production use
- Manage environment variables securely
Troubleshooting
Preview not updating
Preview not updating
Try these steps:
- Refresh the preview (click refresh icon or
Cmd/Ctrl + R) - Clear browser cache and reload the page
- Check if generation is still in progress
- Look for errors in logs that might prevent loading
- Try opening preview in a new tab
Changes aren't applying
Changes aren't applying
Possible causes:
- Generation encountered an error (check logs)
- Request was too vague (try being more specific)
- Conflicting with existing code (describe the issue)
- Browser cache needs clearing
Can't access backend tools
Can't access backend tools
Check:
- You’re signed in to the correct account
- Your plan includes backend dashboard access
- The sidebar is expanded (click hamburger menu if collapsed)
- No browser extensions are blocking content
App running slowly
App running slowly
Performance tips:
- Check Backend Dashboard for high failure rates
- Review logs for slow queries or functions
- Reduce number of database queries on each screen
- Optimize image sizes before uploading
- Consider pagination for long lists
What’s next?
Build from mobile
Learn how to create and iterate on apps from your phone.
Share your app
Generate links and QR codes to share your app instantly.
Backend Dashboard
Dive deeper into monitoring and managing your backend.
Deploy to stores
Ready to publish? Learn how to deploy to app stores.